Add User to Group
Connect to Windows Instance using RDP Client:
-
Open the Amazon EC2 console at https://console.aws.amazon.com/ec2/.
-
In the navigation pane, select Instances. Choose your instance and then select Connect.
-
On the Connect to instance page, choose the RDP client tab, and then select Get password.
-
Choose Browse and navigate to the private key file (.pem) you created when launching the instance. Select the file and choose Open to copy the entire contents of the file to this window.
-
Choose Decrypt Password. The console displays the default administrator password for the instance under the Password section, replacing the previously displayed Get password link. Save the password in a secure location. This password is required to connect to the instance.
-
Choose Download remote desktop file. Your browser will prompt you to open or save the RDP shortcut file. Once you have downloaded the file, choose Cancel to return to the Instances page.
-
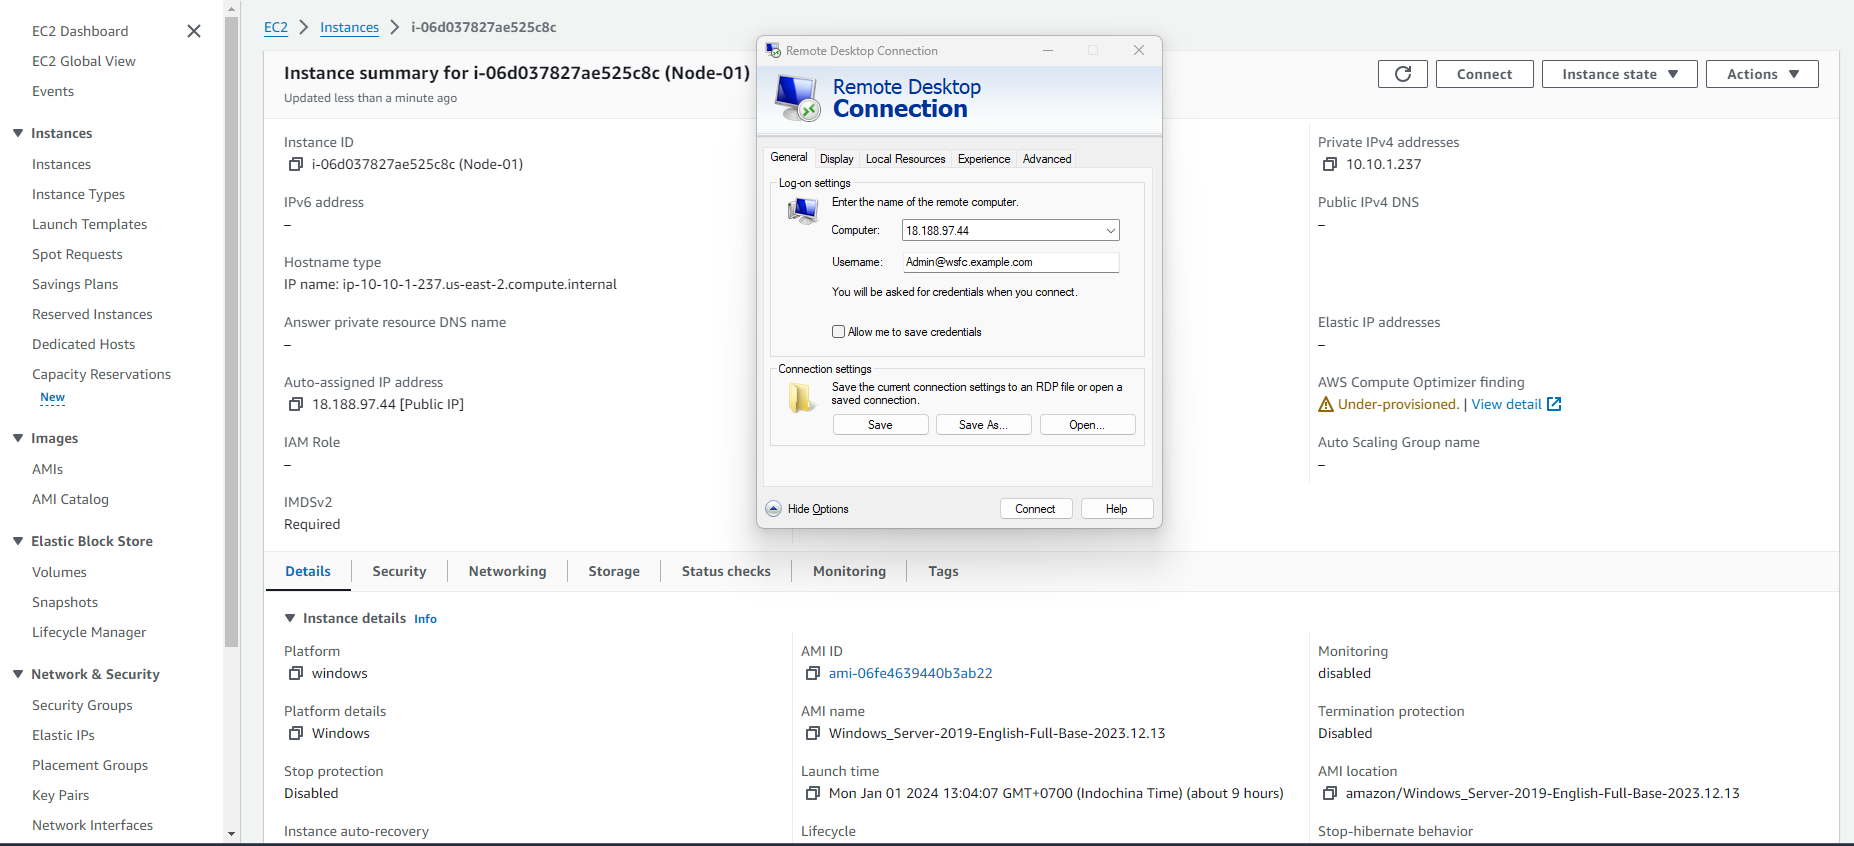
If you open the RDP file, you will see the Remote Desktop Connection dialog box.
-
If you save the RDP file, navigate to your download folder and open the RDP file to display the dialog box.
-
You may receive a warning that the publisher of the remote connection is not known. Choose Connect to proceed with connecting to your instance.
-
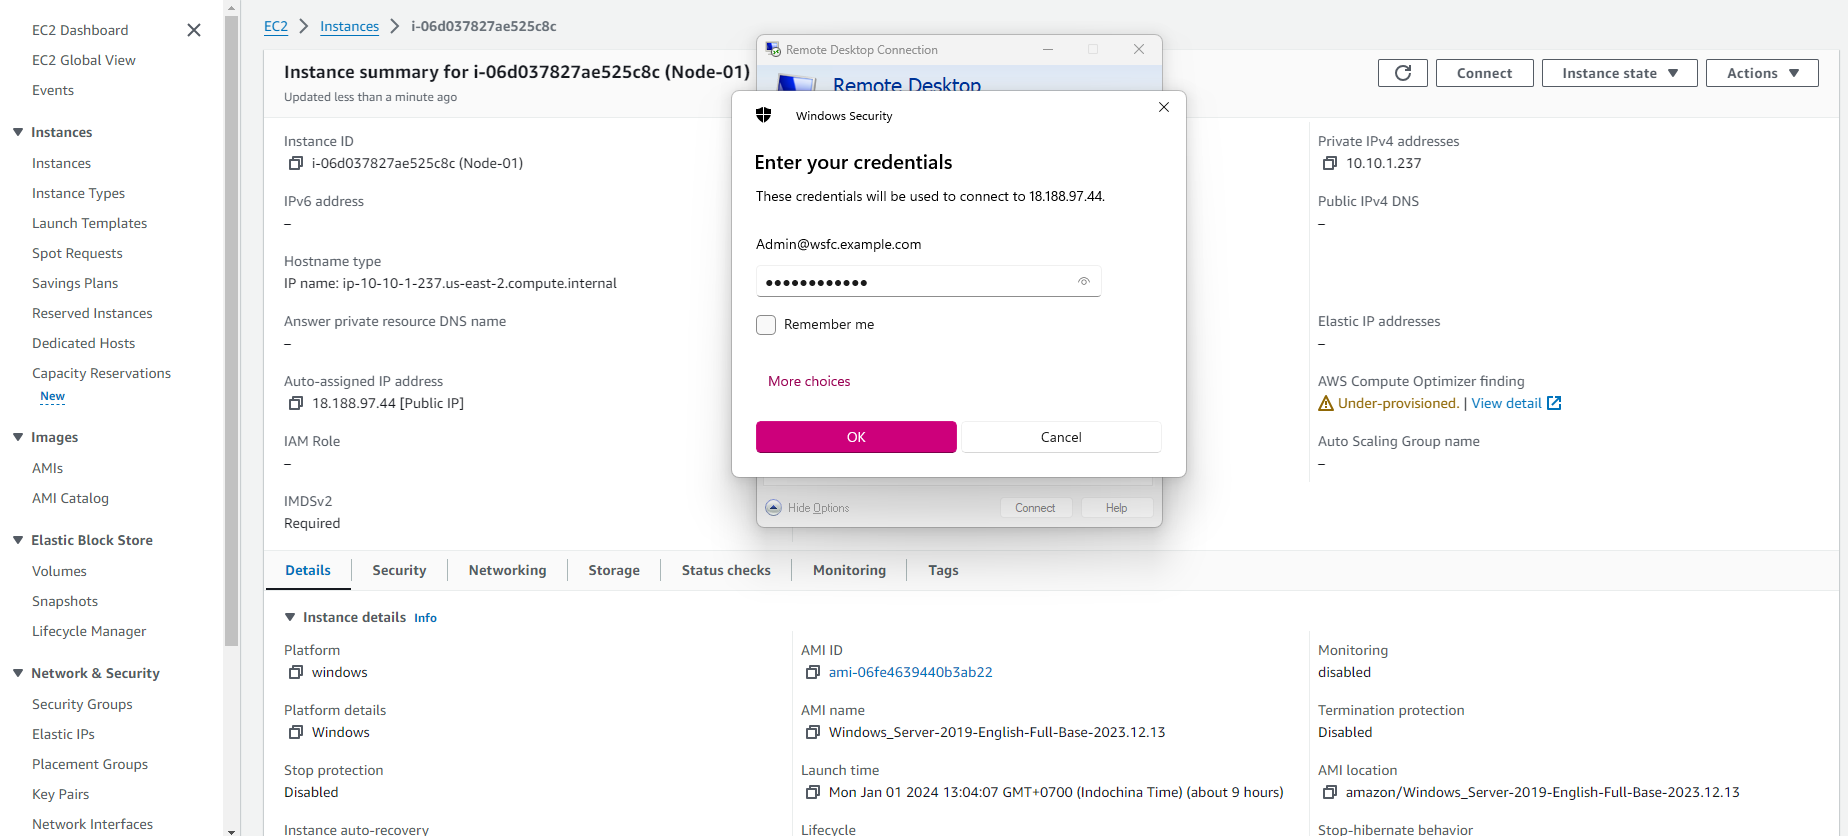
The administrator account is selected by default. Copy and paste the password you saved earlier.
Note: If you receive a “Password Failed” error, try entering the password manually. Copying and pasting the content may corrupt it.
Due to the nature of self-signed certificates, you may receive a warning that the security certificate could not be authenticated. Use the following steps to verify the identity of the remote computer, or simply choose Yes (Windows) or Continue (Mac OS X) if you trust the certificate.
-
If you are using Remote Desktop Connection on a Windows computer, select View certificate. If you are using Microsoft Remote Desktop on Mac, select Show Certificate.
-
Select the Details tab, and scroll down to Thumbprint (Windows) or SHA1 Fingerprints (Mac OS X). This is the unique identifier for the remote computer’s security certificate.
-
In the Amazon EC2 console, select your instance, choose Actions, Monitor and troubleshoot, Get system log.
-
In the output of the system log, search for RDPCERTIFICATE-THUMBPRINT. If this value matches the fingerprint or thumbprint of the certificate, you have verified the identity of the remote computer.
-
If you are using Remote Desktop Connection on a Windows computer, return to the Certificate dialog and select OK. If you are using Microsoft Remote Desktop on Mac, return to Verify Certificate and choose Continue.
[Windows] Select Yes in the Remote Desktop Connection window to connect to your instance.
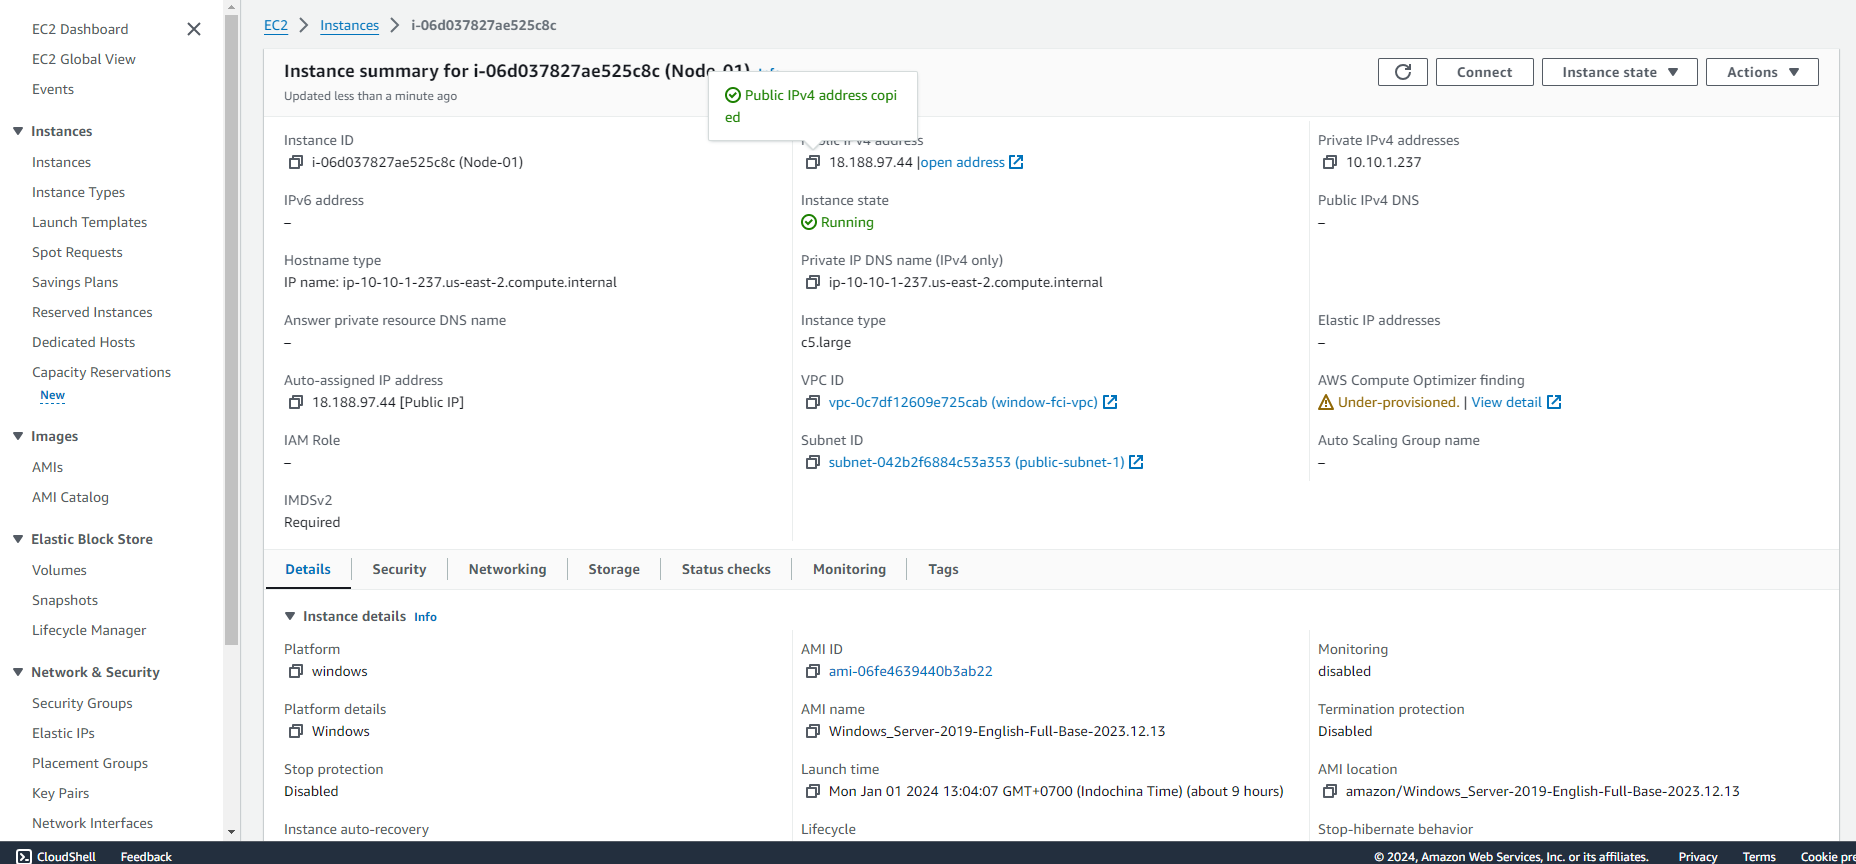
- Here you use the Public IP of EC2 (Node-01) and the username is Admin@wsfc.example.com. Then, choose Connect.
- Enter the Password for the Active User.
- Successfully connected to Node-01.

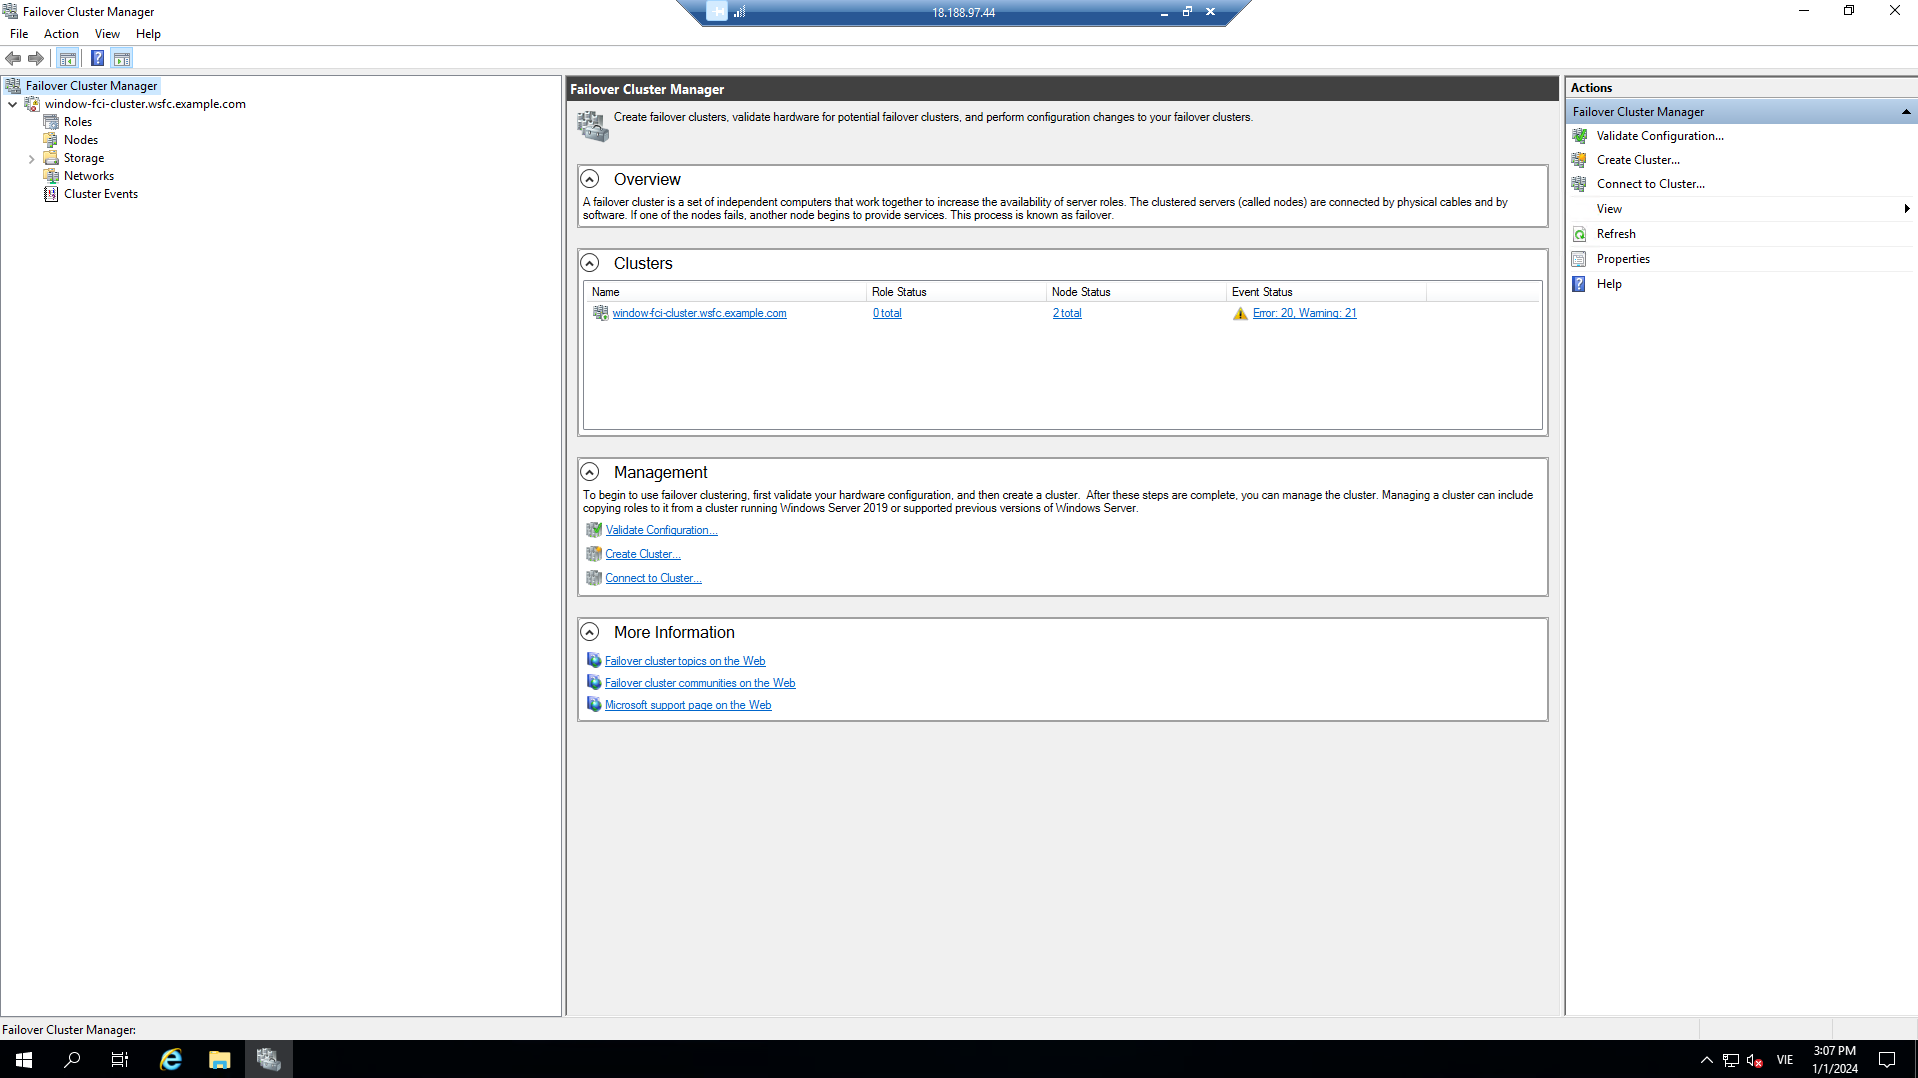
- Check the Failover Cluster Manager interface.
Add User to Group in Active Directory Users and Computers
To add a user to a group in Active Directory and grant access to a computer, you can follow these steps. Note that you need administrative privileges to perform these actions.
-
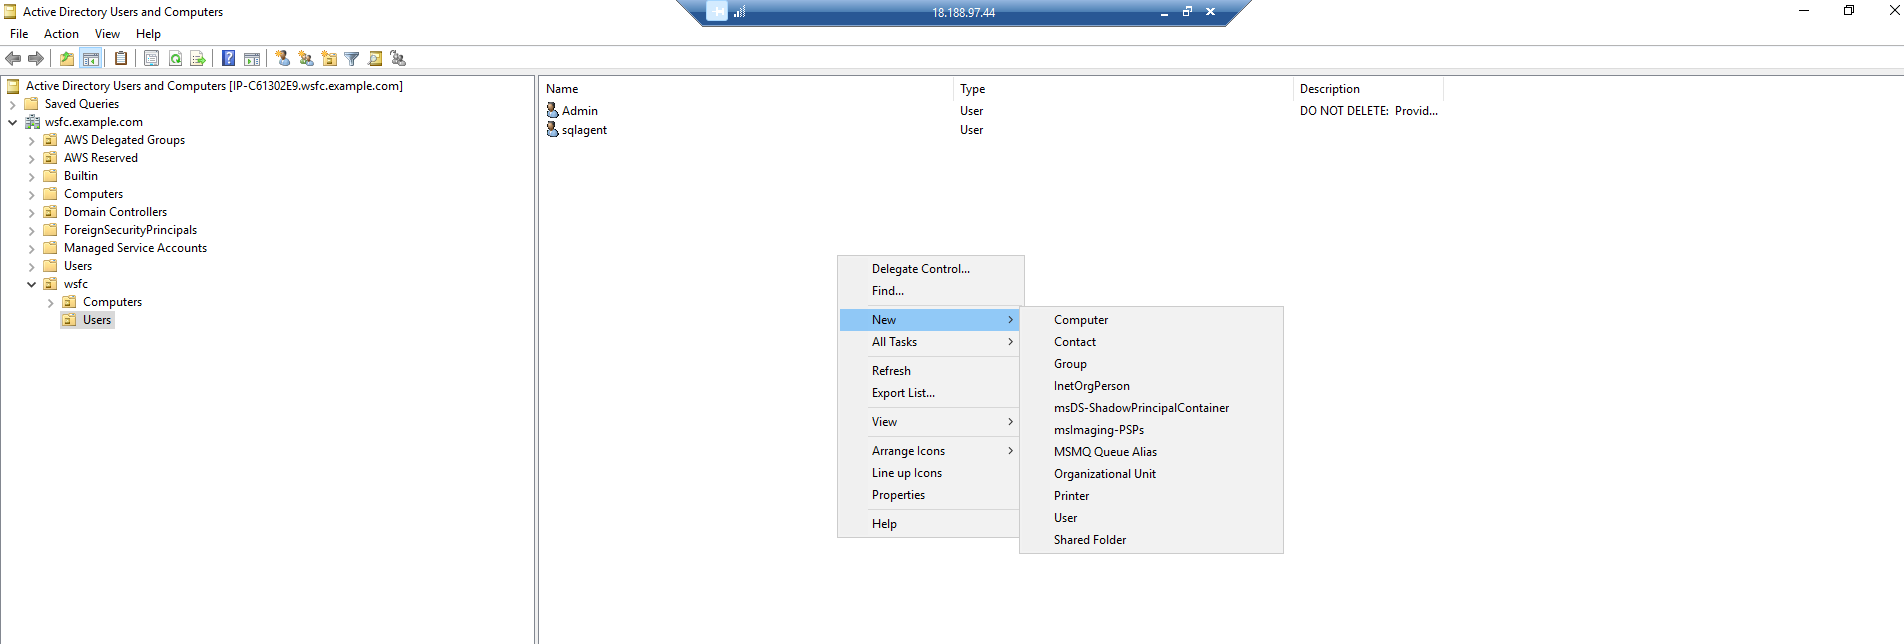
Open Active Directory Users and Computers:
- On your server or workstation where the Active Directory tool is installed (in this case, EC2 Node-01), open the Active Directory Users and Computers console.
-
Find the user:
- Navigate through the domain and locate the user account you want to modify. Typically, this account is found under the Users container or within an Organizational Unit (OU).
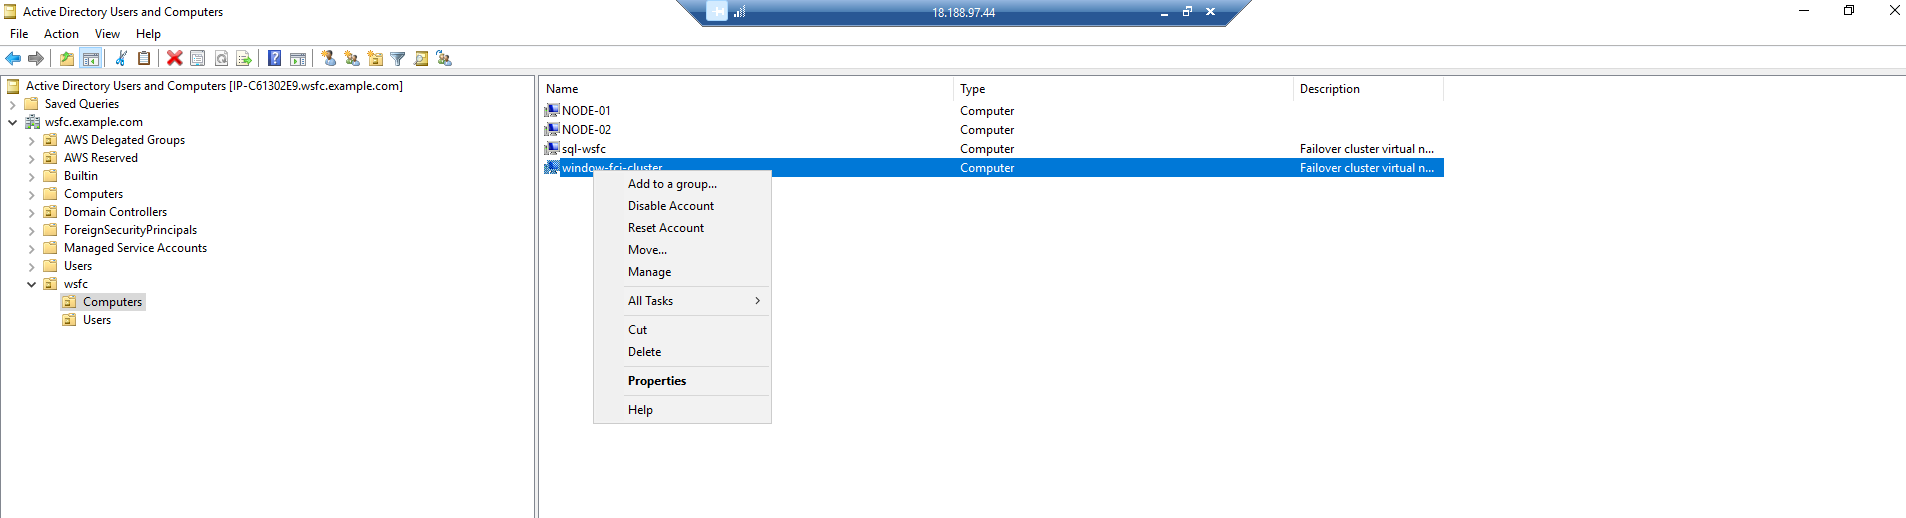
- Add the user to a group:
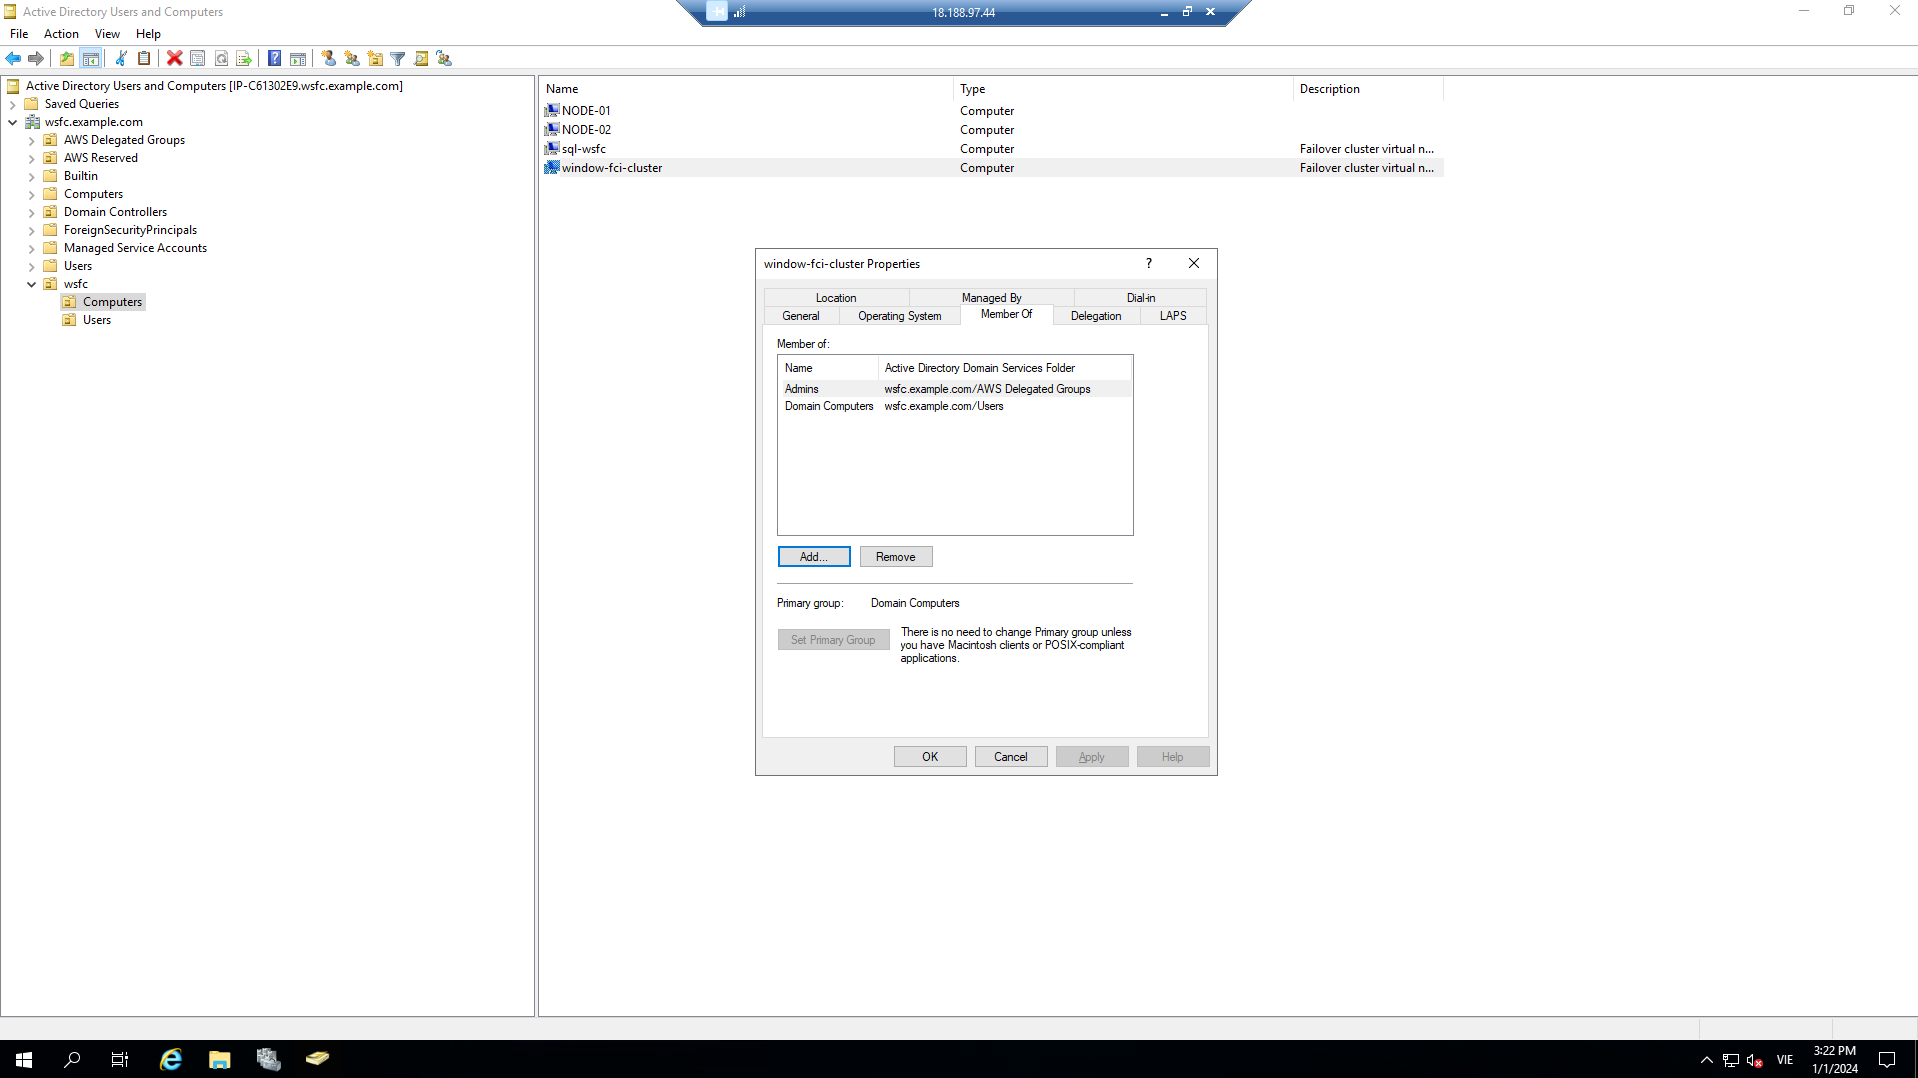
- Right-click on the user account (e.g., windows-fci-cluster) and select Properties.
- Go to the Member Of tab.
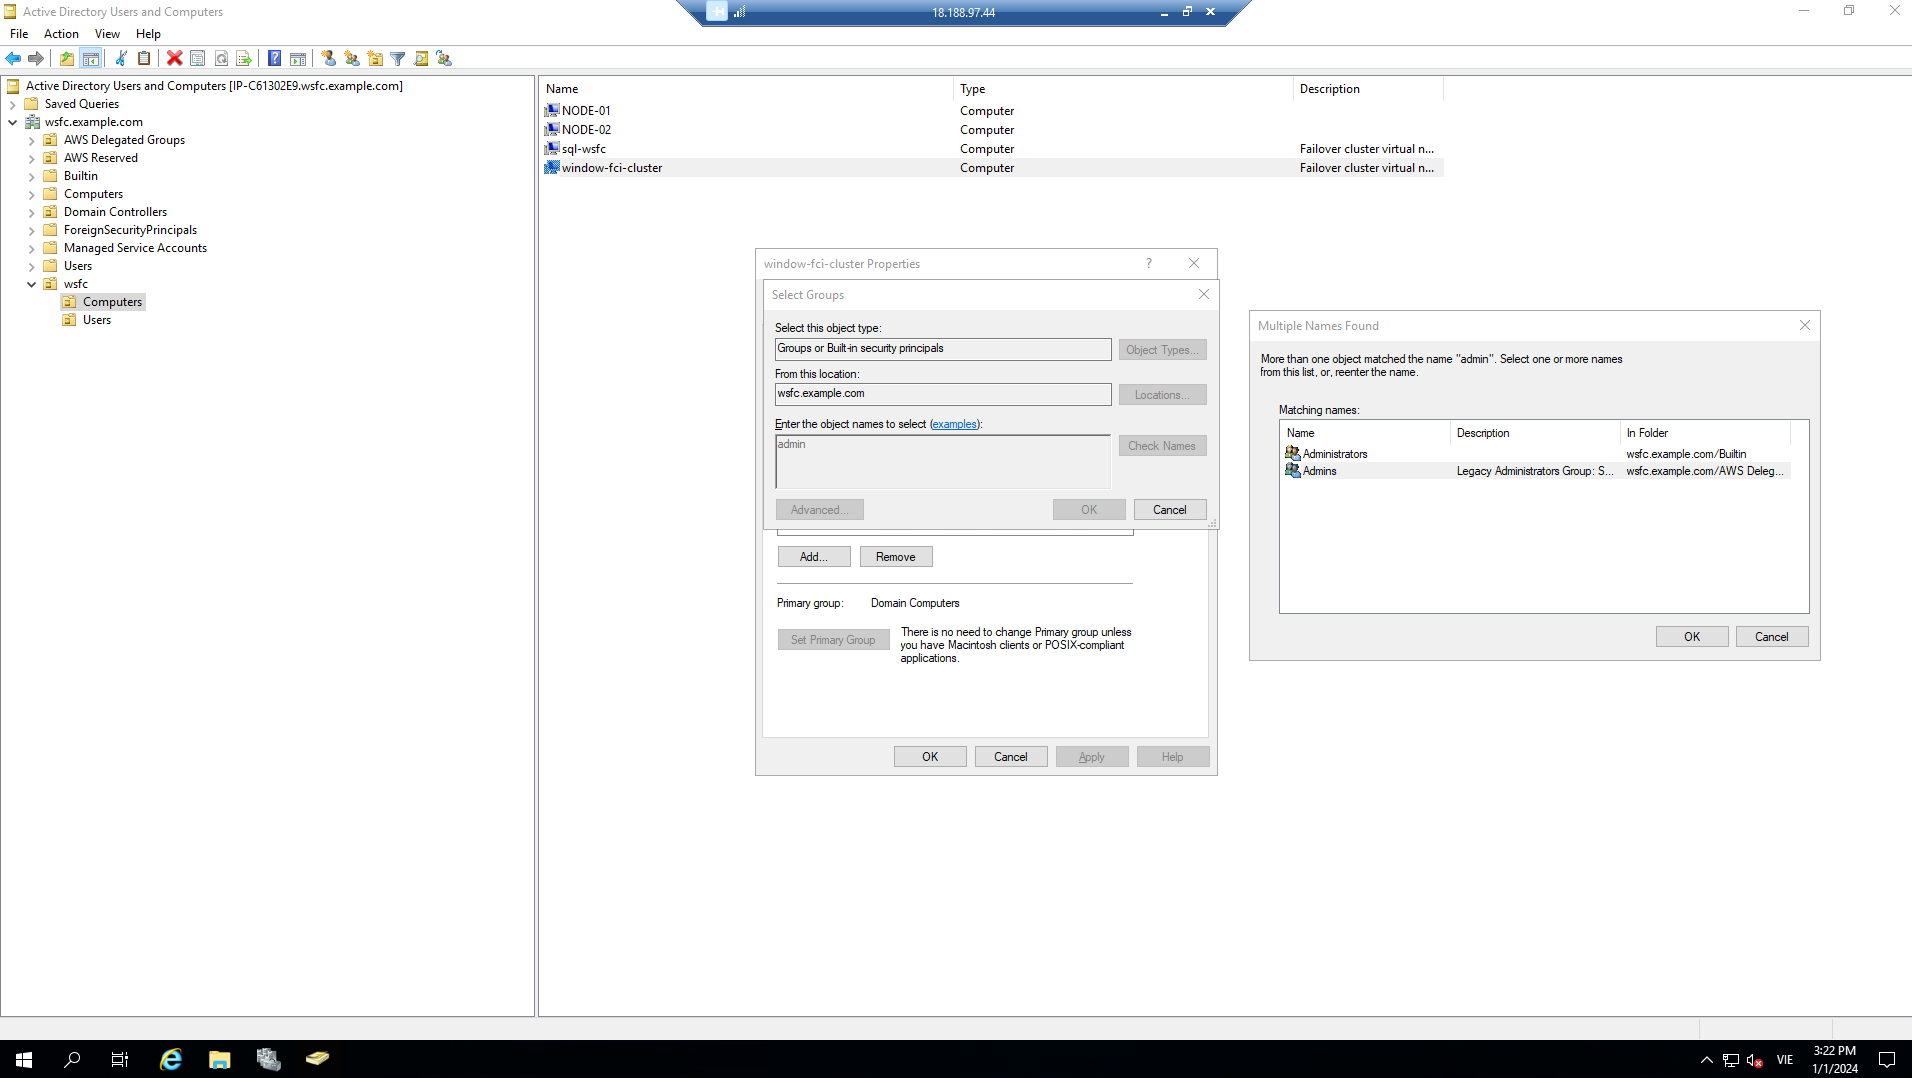
- Click Add to include the user in a new group. Enter the name of the group or click Advanced to search for a group. Once found, select the group and click OK.
- Grant Computer Access:
- To grant access to the user to a specific computer, locate the computer account in Active Directory.
- Right-click on the computer account and select Properties.
- Go to the Security tab.
- Click Add to add the user or group to the list. If you add a group, the user you added to that group will inherit these permissions.
- Configure the appropriate permissions for the user or group. Typically, this includes Read and Write permissions, but it depends on your specific requirements.
-
Apply Changes:
- After making these changes, click Apply and then OK to close the dialog boxes.
-
Update Group Policy:
- On the user’s computer, open a command prompt and run gpupdate /force to immediately update Group Policy settings. This step ensures that the new settings are applied without waiting for automatic refresh.
-
Verify Access:
- Finally, verify that the user can log in to the specific computer and has appropriate access.