Provision Instances
Provision Instances
You can launch a Windows instance using the AWS Management Console by following the steps in the procedure below. This guide helps you quickly launch your first instance and does not include all possible options. For information on advanced options, see Launching an Instance Using the New Instance Launch Wizard. For information on other ways to launch your instance, see Launching Your Instance.
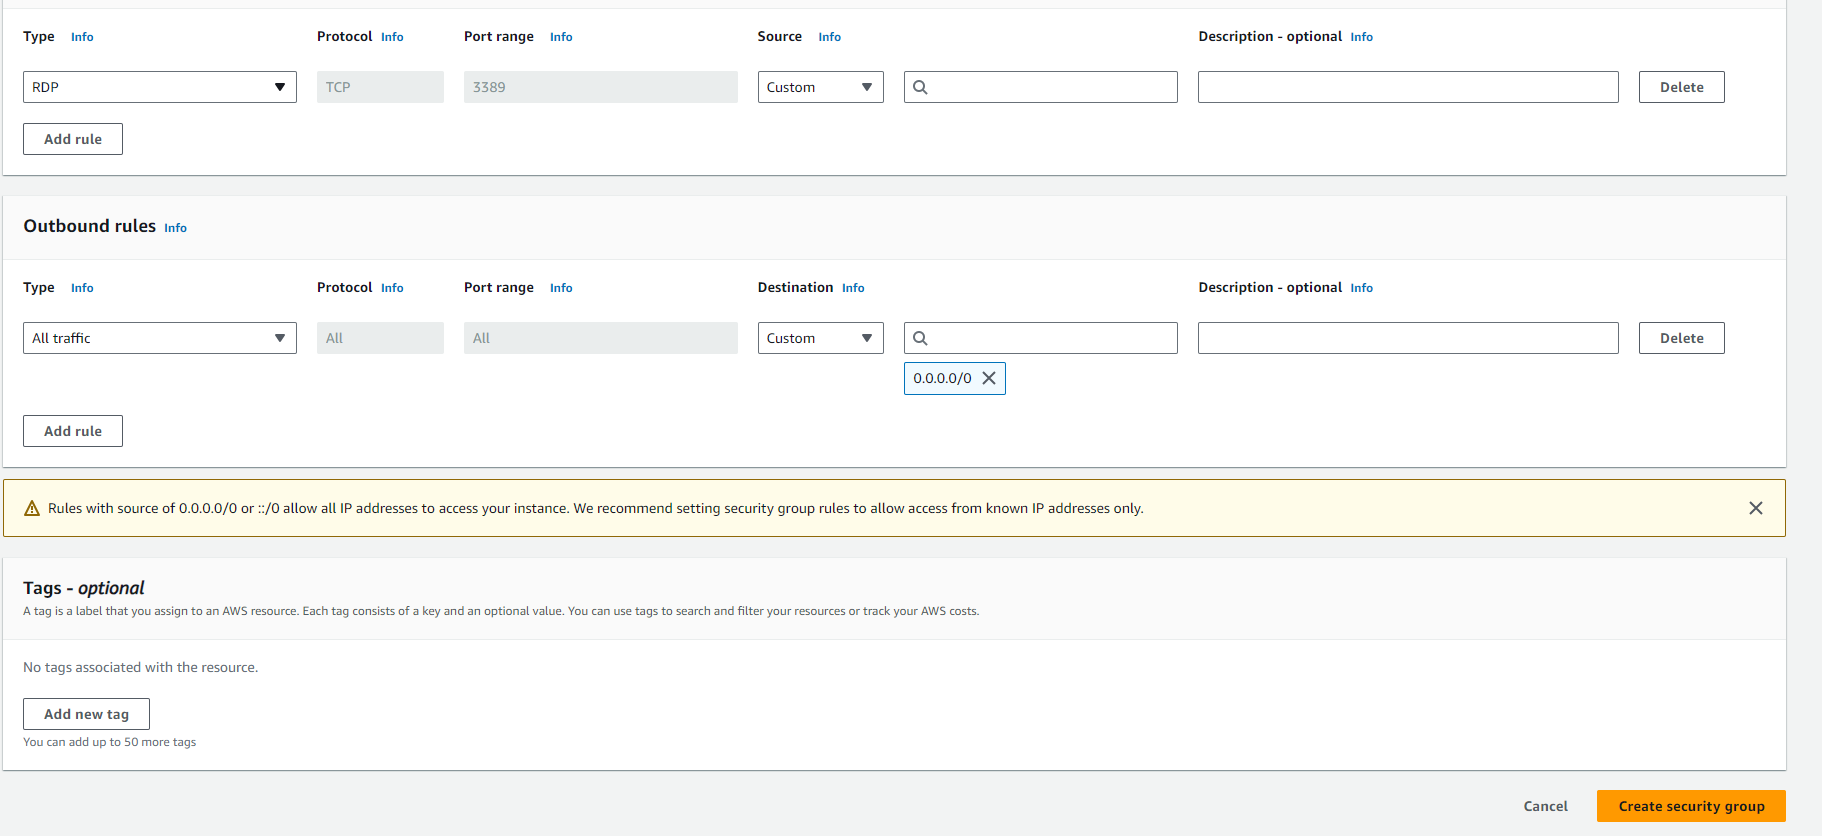
Creating a Security Group for Node-01
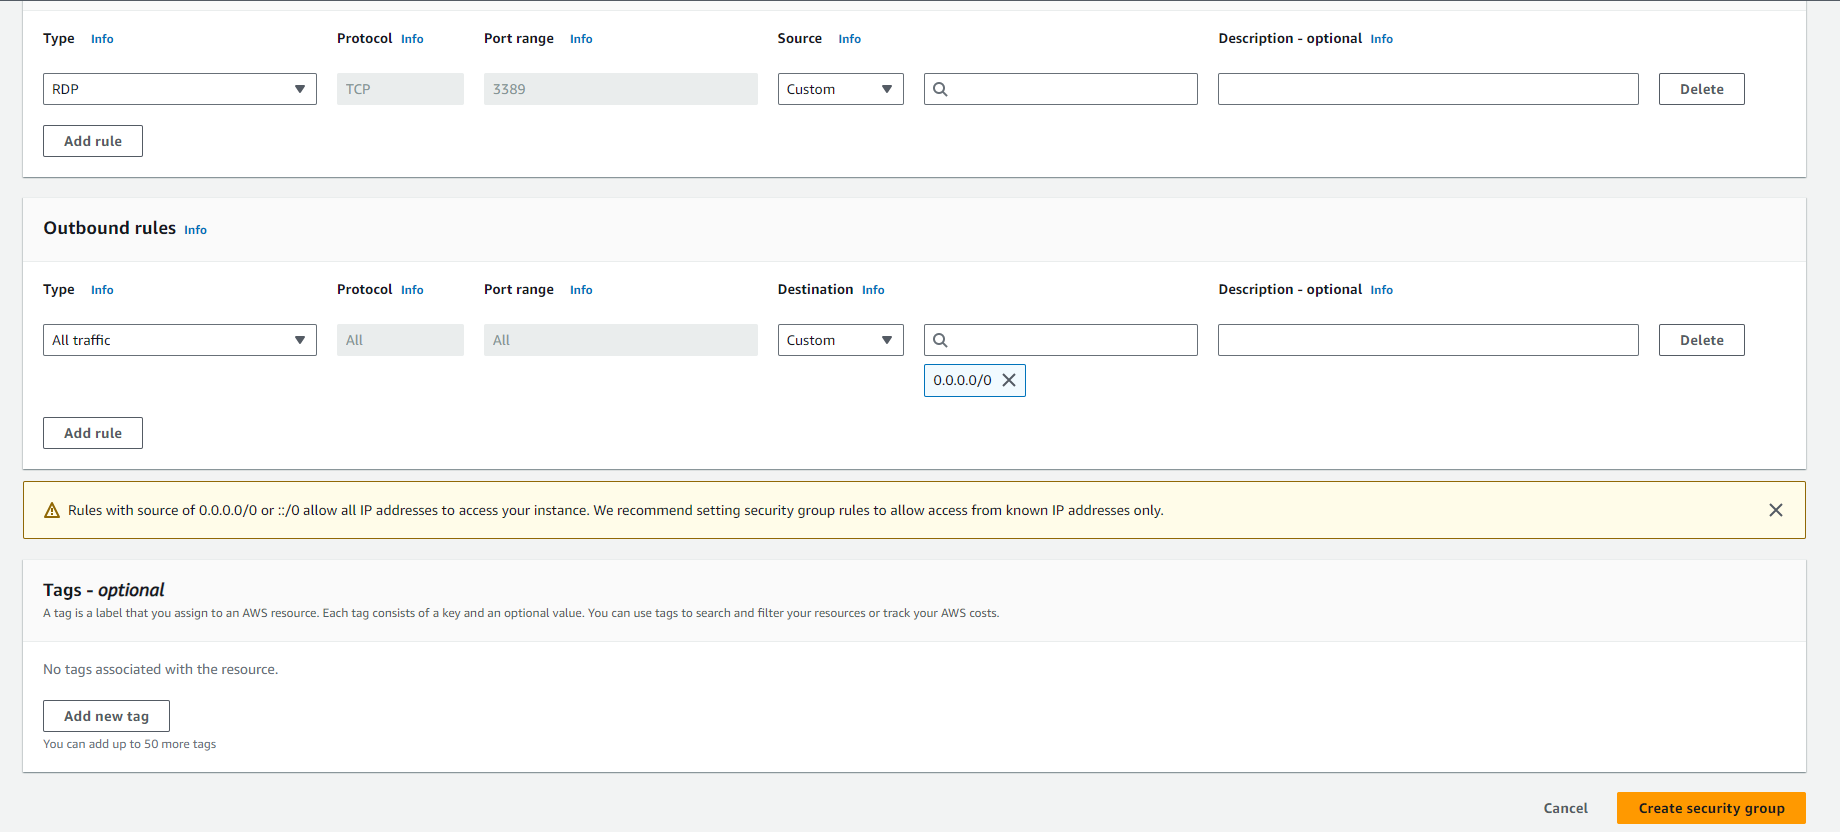
To create a security group in AWS with specific inbound rules, follow these steps in the AWS Management Console.
-
Open the AWS Management Console
- Navigate to the EC2 service in your AWS Management Console.
-
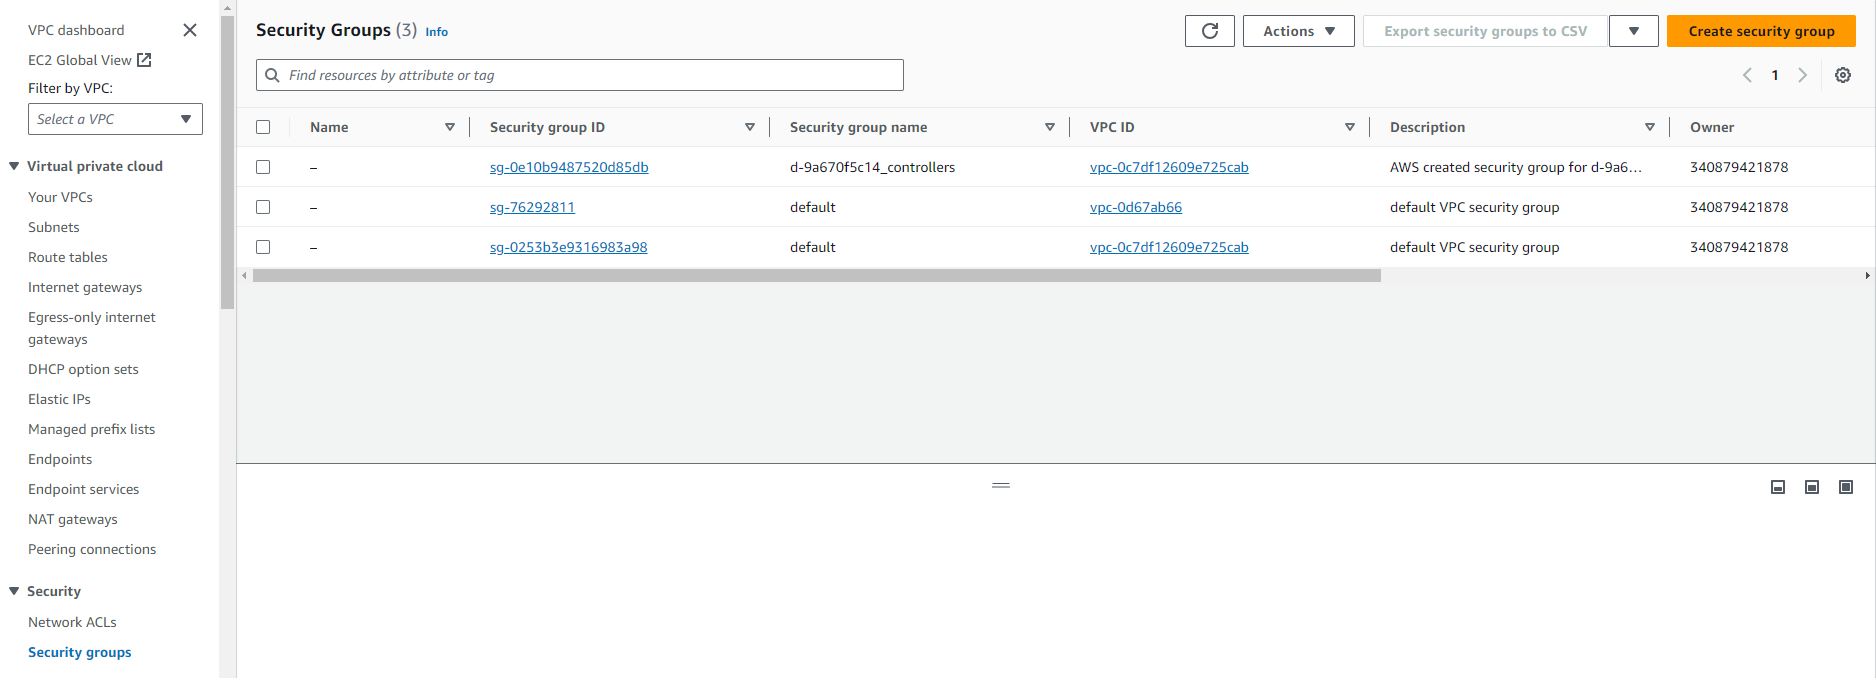
Access Security Groups
- In the left menu, select Security Groups under NETWORK & SECURITY.
-
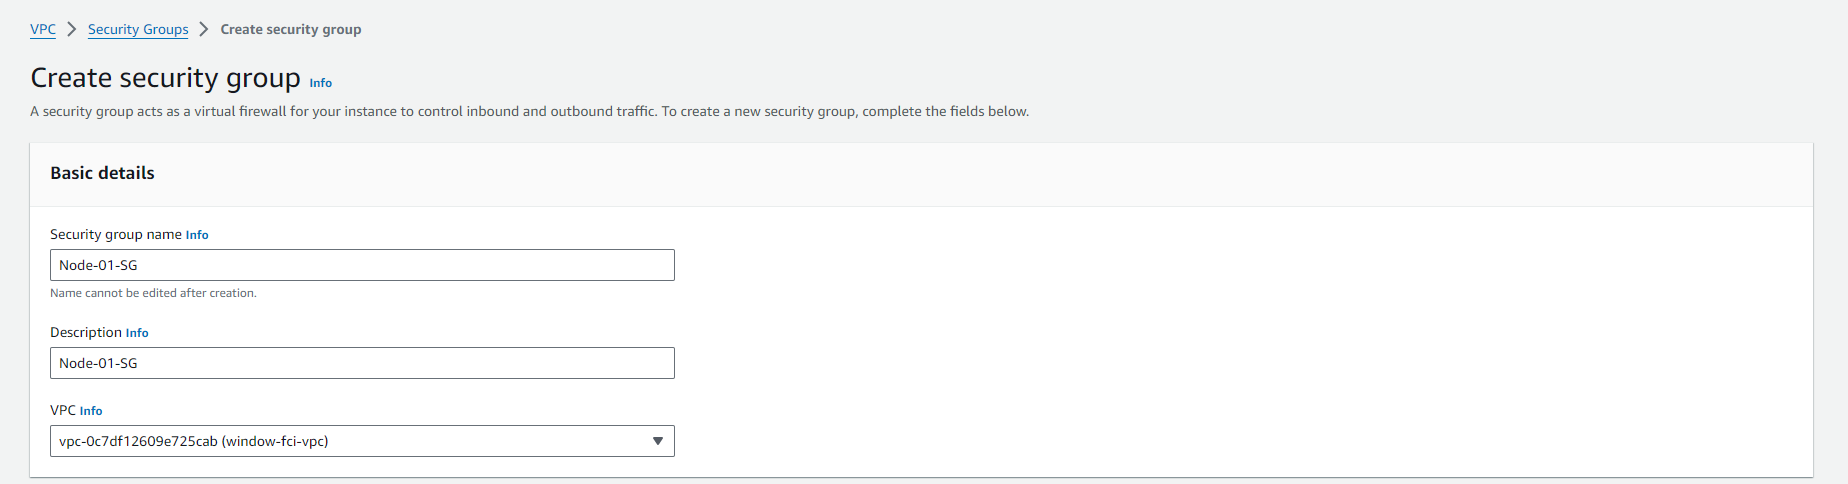
Create a New Security Group
- Click on Create Security Group.
- Name: Enter a name for your security group.
- Description: Fill in a description for the security group.
- VPC: Choose the appropriate VPC that you want this security group to belong to.
- Repeat for Node-02

To Launch an Instance
-
Open the Amazon EC2 console at https://console.aws.amazon.com/ec2/.
-
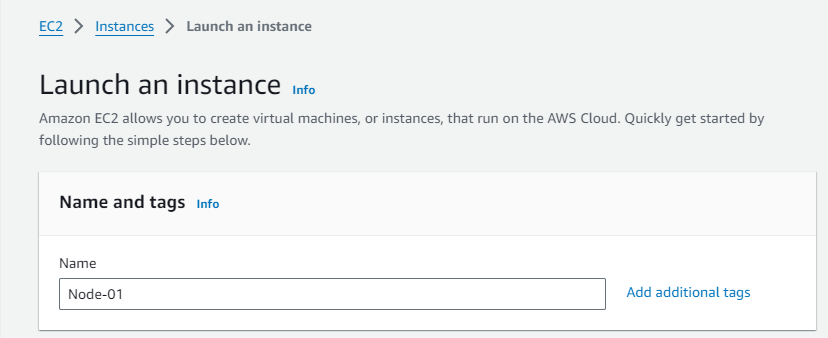
From the EC2 console dashboard, in the Launch instance box, select Launch instance.
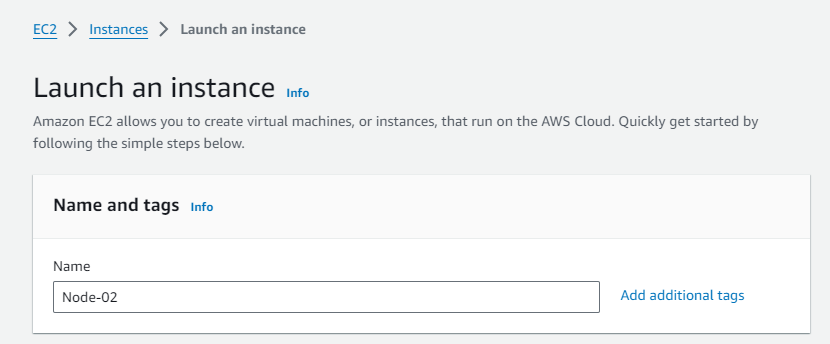
- Under Name and tags, for Name, enter a descriptive name for your instance.
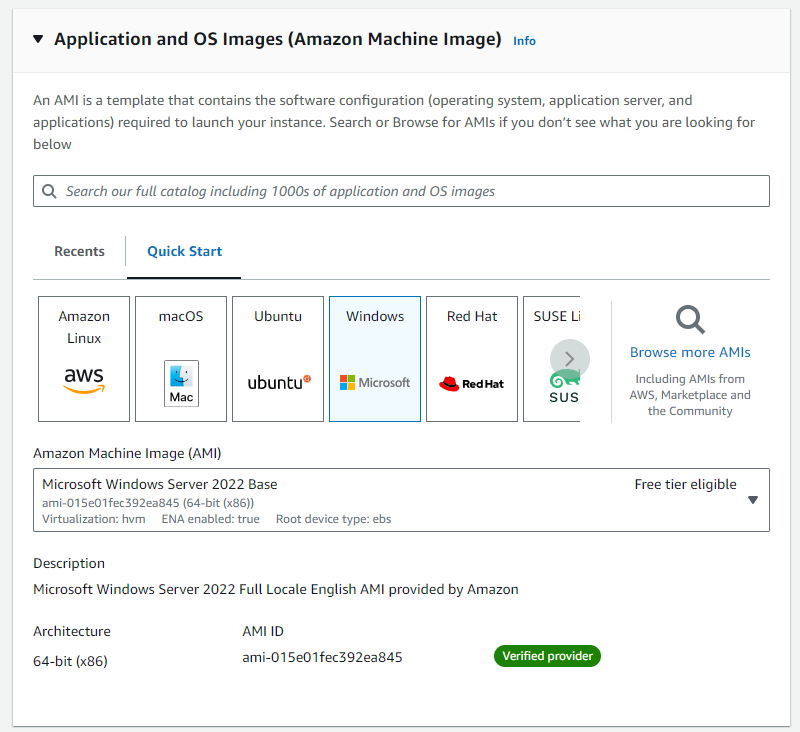
- Under Application and OS Images (Amazon Machine Image), do the following:
- Select Quick Start, then choose Windows. This is the operating system (OS) for your instance.
- From Amazon Machine Image (AMI), choose the AMI for Windows Server 2022 Base or later. Note that these AMIs are marked as Free Tier eligible. An Amazon Machine Image (AMI) is a template that serves as a basic configuration for your instance.

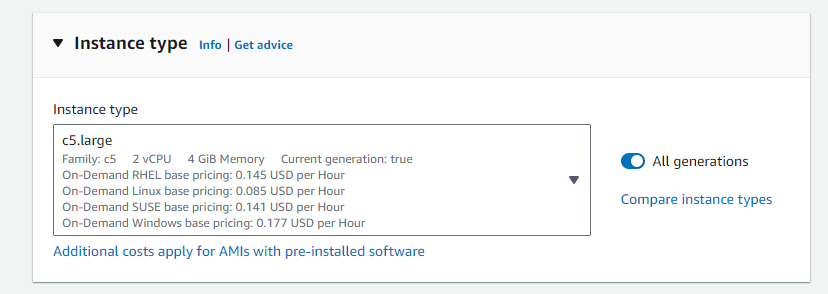
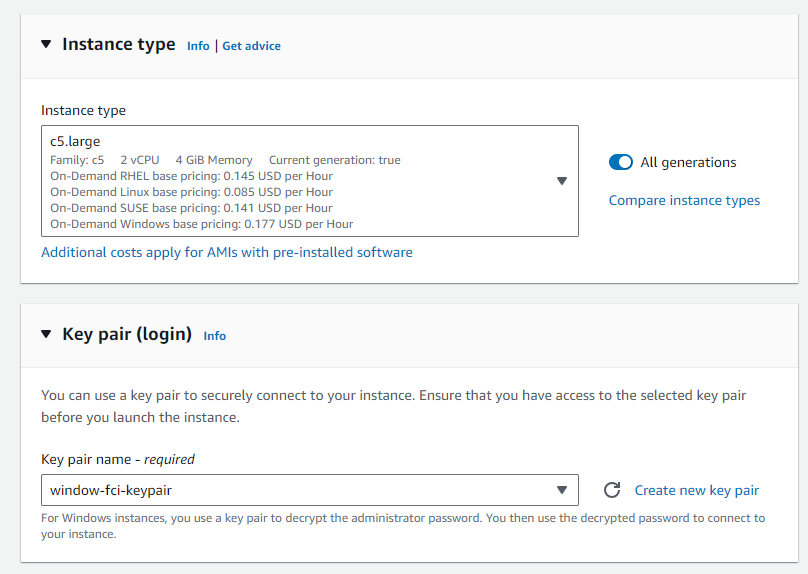
- Under Instance type, from the Instance type list, you can choose the hardware configuration for your instance. Choose c5.large instance type.
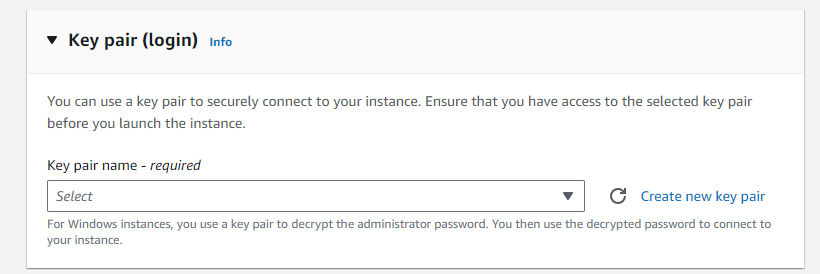
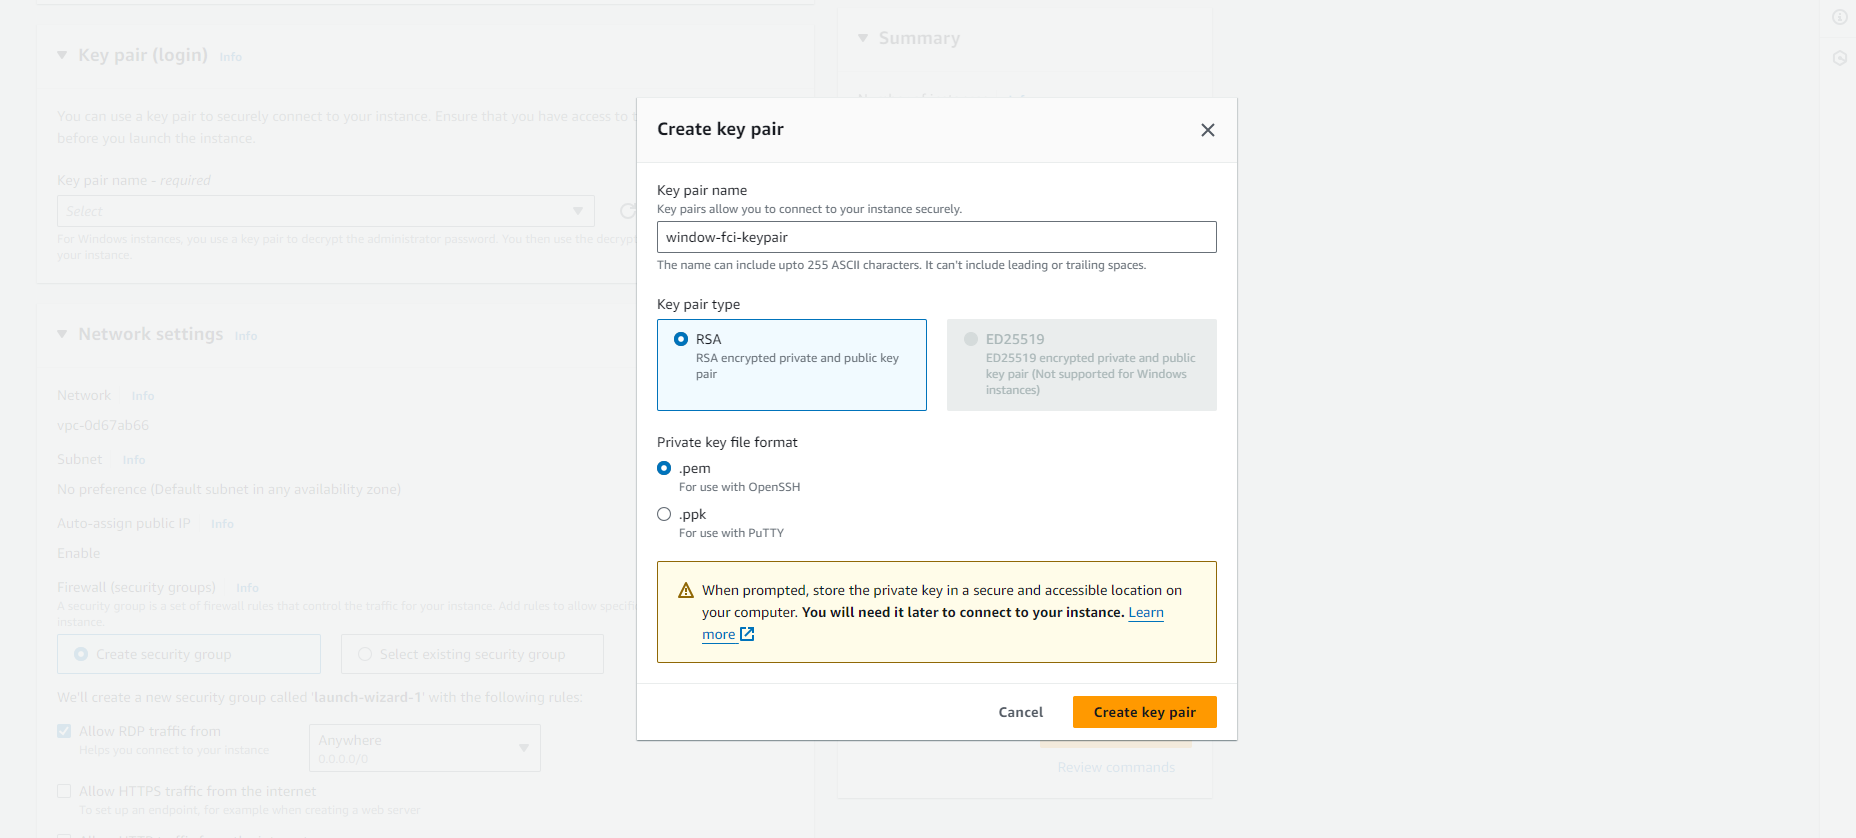
- Under Key pair (login), for Key pair name, choose the key pair you created when setting up. Note that you must select an RSA key. ED25519 keys are not supported for Windows instances. Choose or create a new keypair.
Warning Do not choose Proceed without a key pair (Not recommended). If you launch an instance without a key pair, you cannot connect to it.
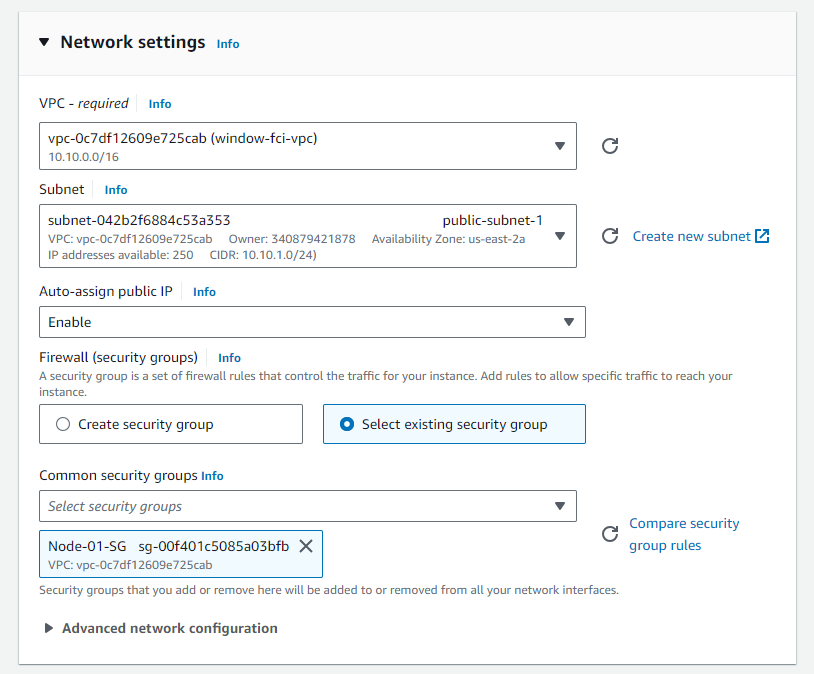
- Next to Network settings, select Edit. For VPC, choose the VPC common with AD. For Security group name, you will see that the wizard has created and selected a security group for you. You can use this security group, or if you wish, you can select the security group you created when setting up following the steps below:
- Select Select existing security group.
- From Common security groups, choose your security group from the list of existing security groups.
-
Keep the default selections for other configuration settings for your instance.
-
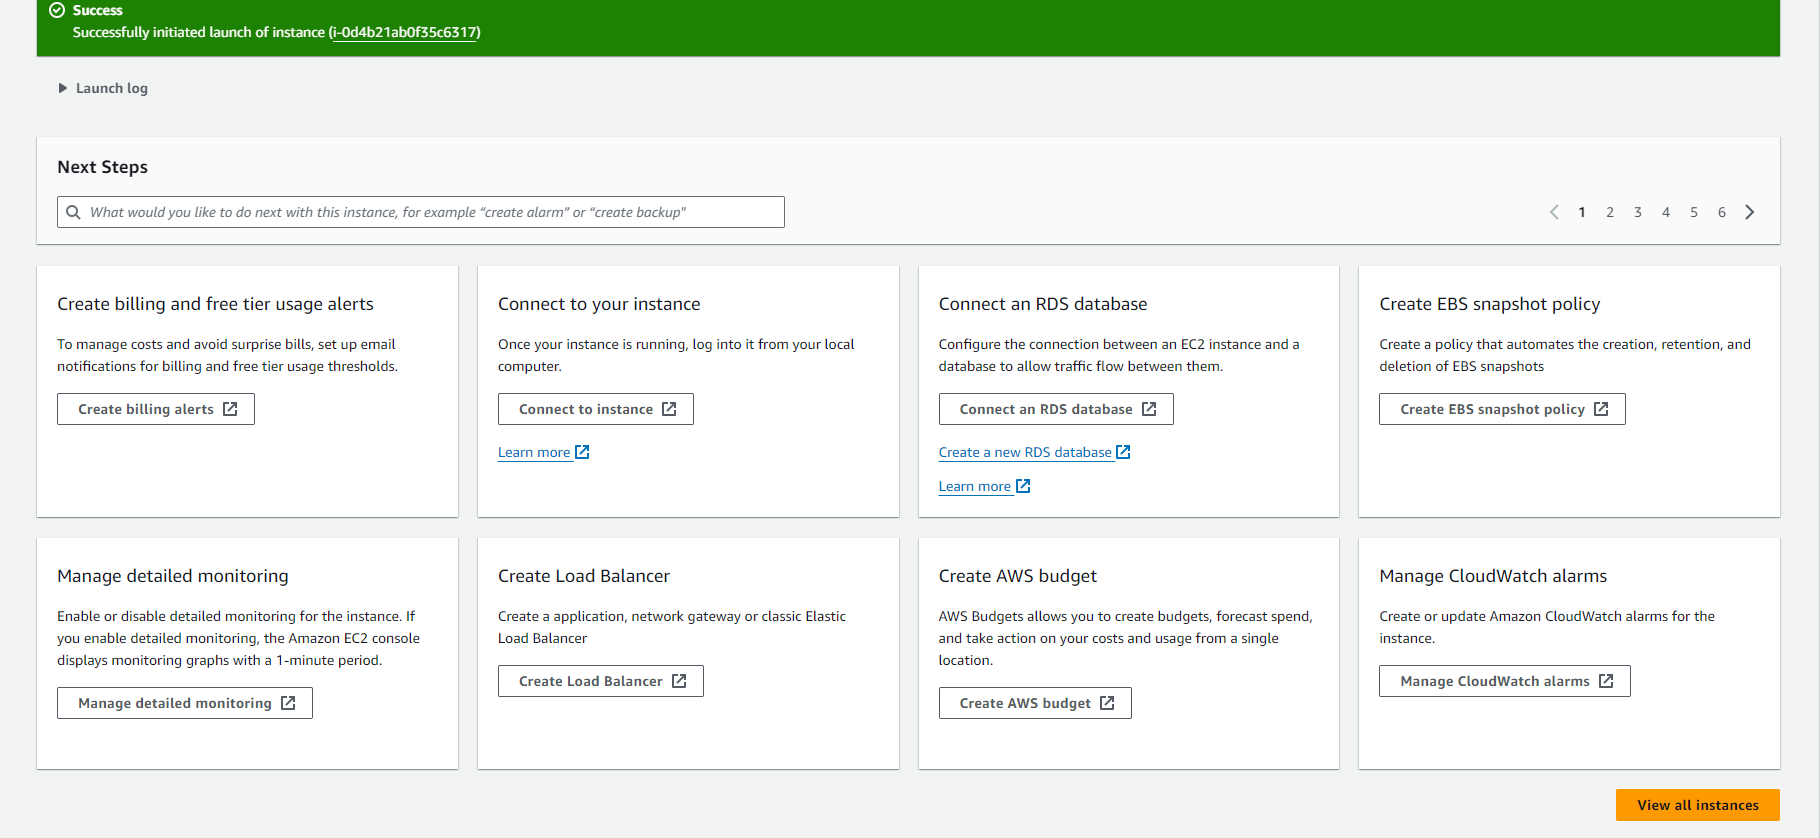
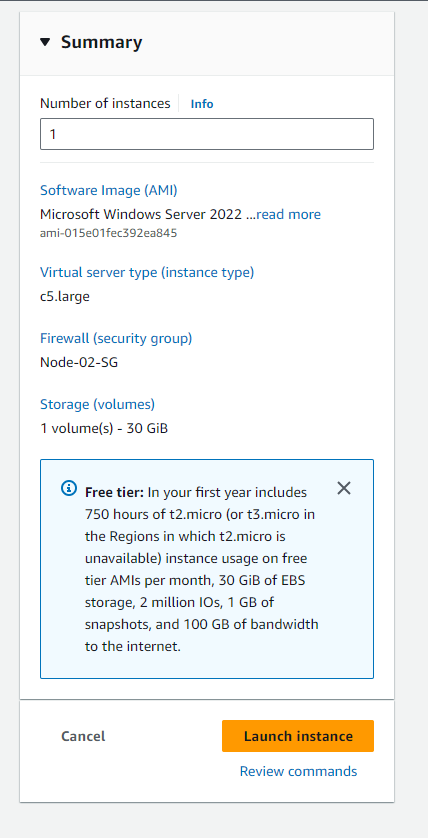
Review your instance configuration summary in the Summary table, and when you are ready, select Launch instance.
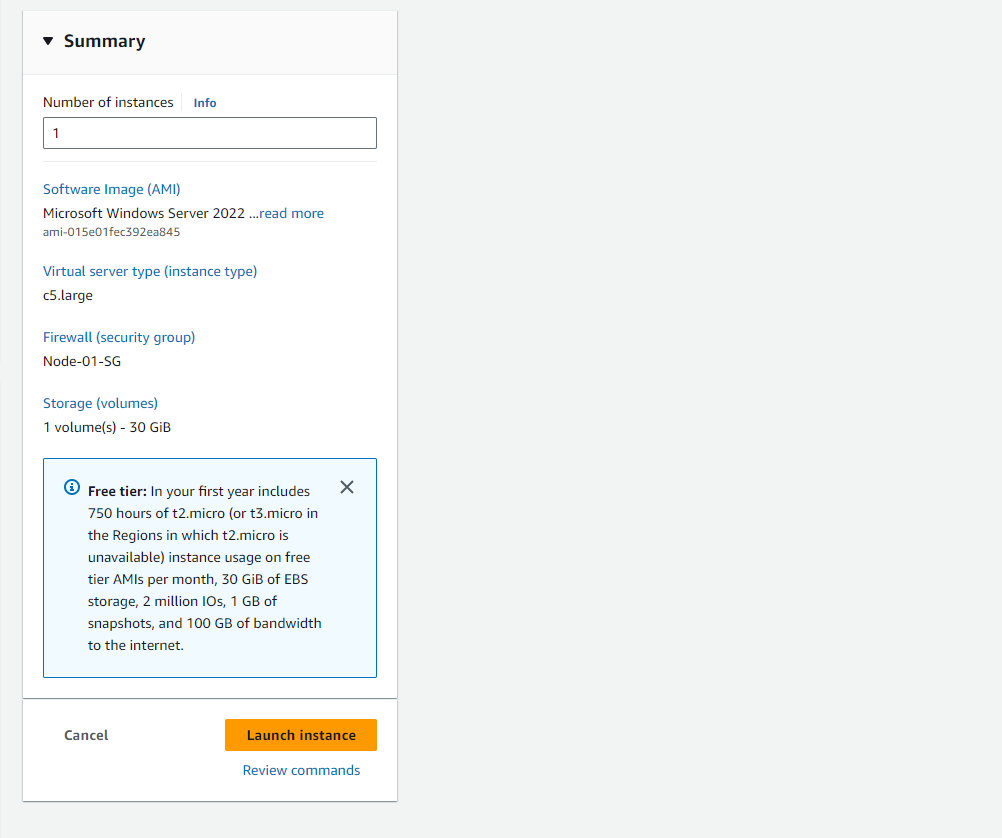
-
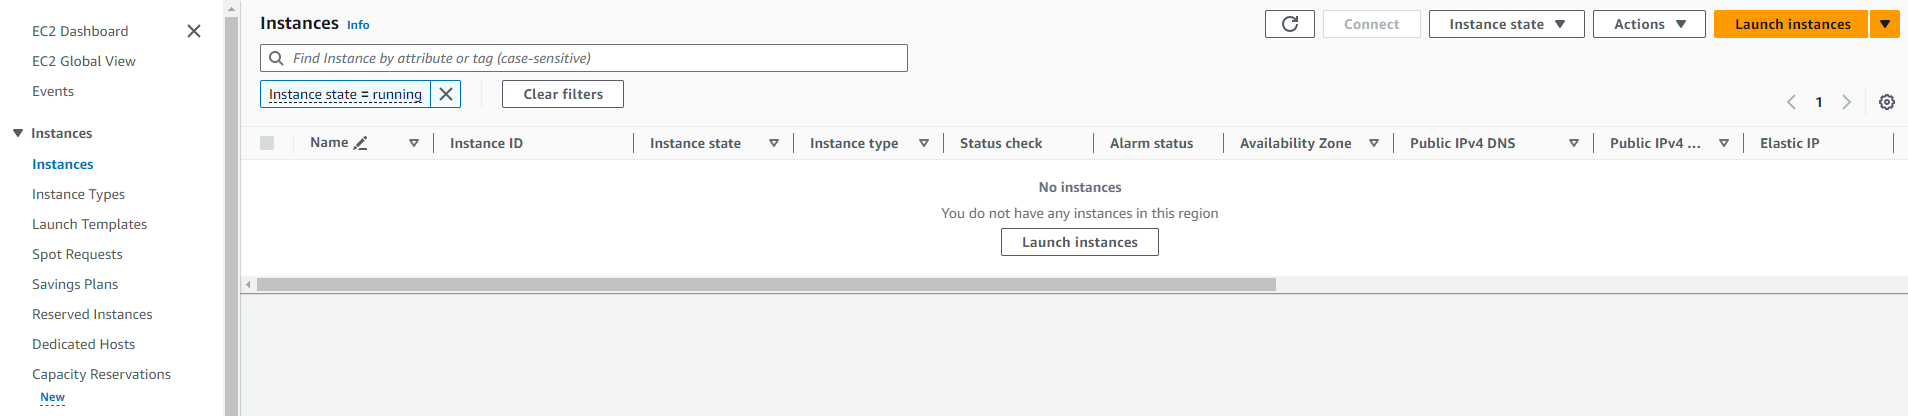
A confirmation page will inform you that your instance is launching. Select View all instances to close the confirmation page and return to the console.
-
On the Instances screen, you can view the status of the launch. It takes a short time for an instance to launch. When you launch an instance, its initial state is pending. After the instance starts, its state changes to running and it receives a public DNS name. If the Public IPv4 DNS column is hidden, select the settings icon (Settings icon) in the upper right corner, turn on Public IPv4 DNS, and select Confirm.
-
It may take a few minutes for your instance to be ready for you to connect. Check whether your instance has passed its status checks; you can view this information in the Status check column.


- Repeat the process for EC2 Node-02