Connecting to EC2
-
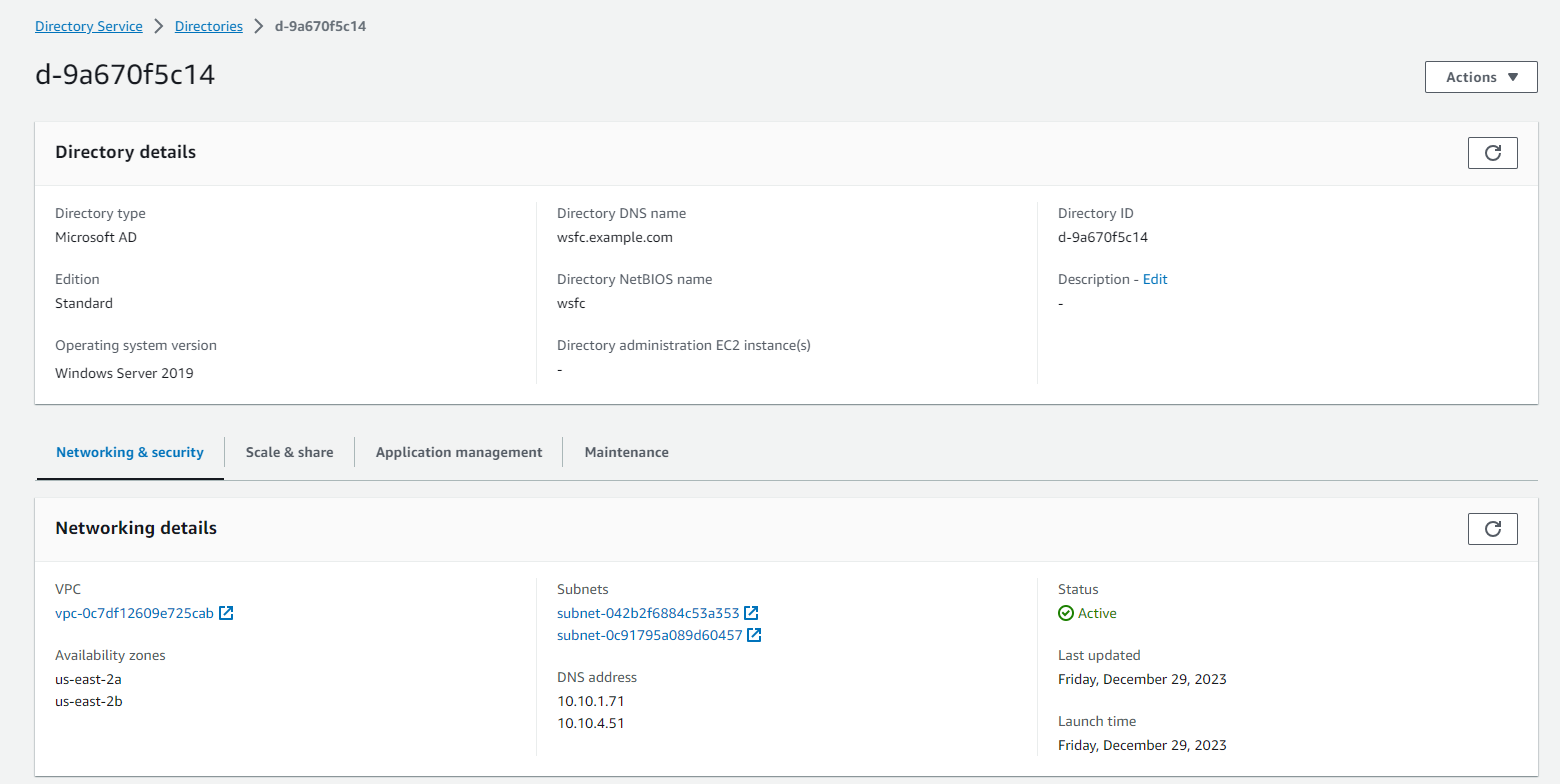
AD has been successfully created.

-
View and note the DNS address details.
To connect to your Windows instance using an RDP client:
-
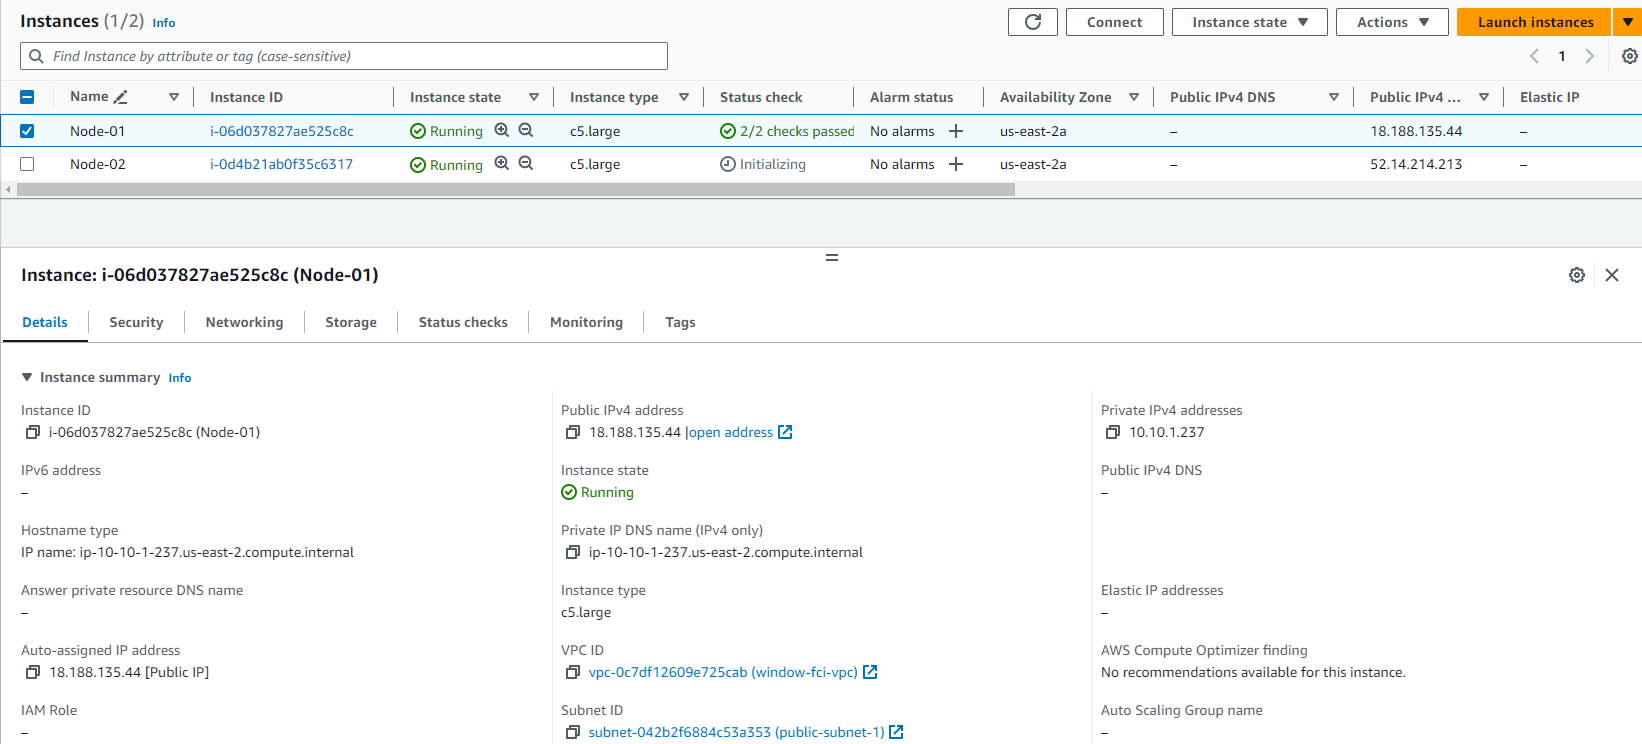
Open the Amazon EC2 console at https://console.aws.amazon.com/ec2/.
-
In the navigation pane, select Instances. Choose your instance and then select Connect.
-
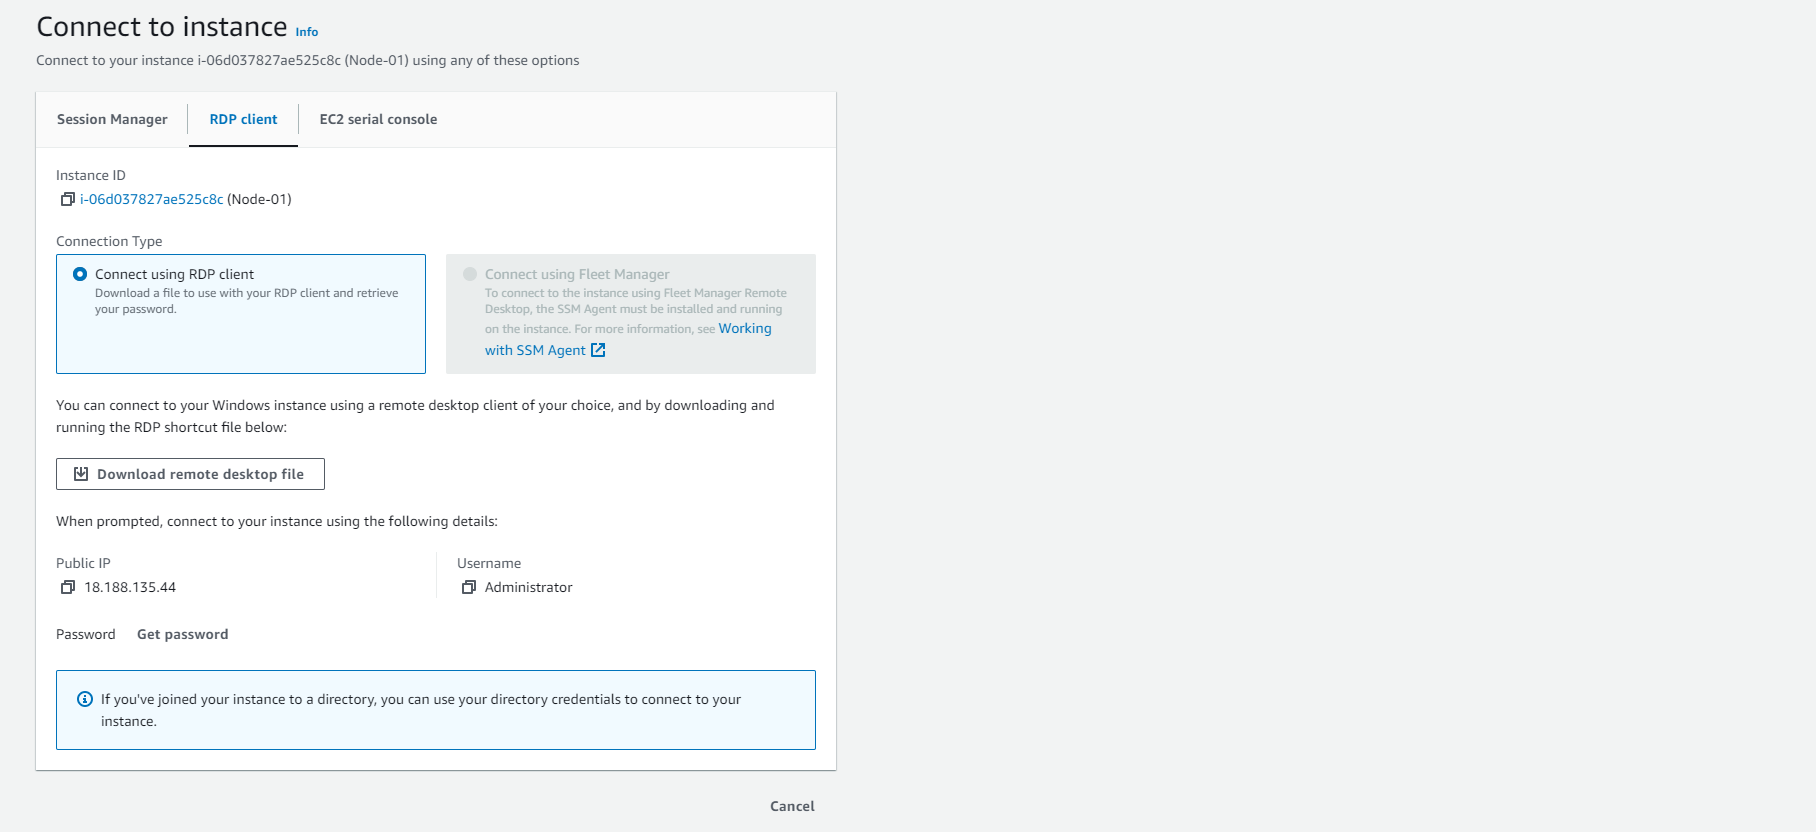
On the Connect to instance page, select the RDP client tab, and then select Get password.
-
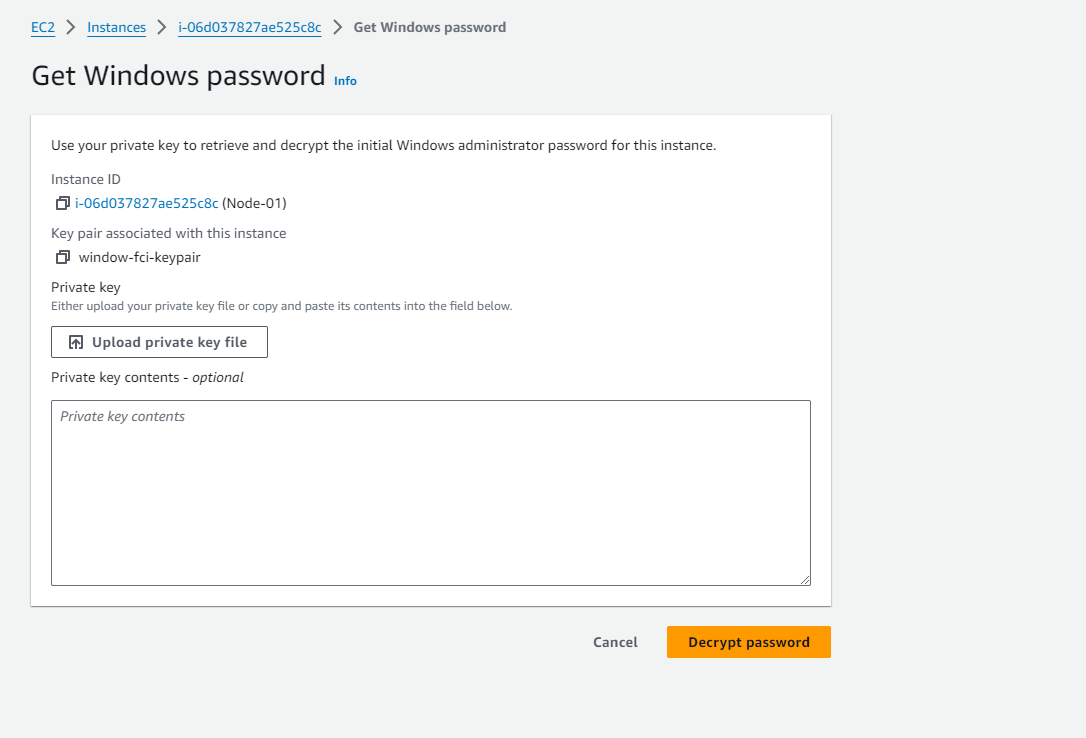
Choose Browse and navigate to the key pair (.pem) file you created when launching the instance. Select the file and choose Open to copy the contents of the file into this window.
-
Choose Decrypt Password. The console displays the default admin password for your instance under Password, replacing the previously shown Get password link. Save the password in a secure location. This password is needed to connect to the instance.
-
Choose Download remote desktop file. Your browser prompts you to open or save the RDP shortcut file. Once you finish downloading the file, select Cancel to return to the Instances page.
-
If you open the RDP file, the Remote Desktop Connection dialog box appears.
-
If you saved the RDP file, navigate to your downloads folder, and open the RDP file to display the dialog box.
-
You may receive a warning that the publisher of the remote connection is unknown. Select Connect to continue connecting to your instance.
-
The admin account is selected by default. Copy and paste the password you saved earlier.
Note: If you receive a “Password Failed” error, try entering the password manually. Copying and pasting content might corrupt it.
-
Due to the nature of self-signed certificates, you may receive a warning that the security certificate cannot be authenticated. Follow the steps below to verify the identity of the remote computer, or simply select Yes (Windows) or Continue (Mac OS X) if you trust the certificate.
-
If you are using Remote Desktop Connection on a Windows computer, select View certificate. If you are using Microsoft Remote Desktop on a Mac, select Show Certificate.
-
Select the Details tab, and scroll down to Thumbprint (Windows) or SHA1 Fingerprints (Mac OS X). This is the unique identifier for the remote computer’s security certificate.
-
In the Amazon EC2 console, select your instance, select Actions, Monitor and troubleshoot, Get system log.
-
In the system log output, look for RDPCERTIFICATE-THUMBPRINT. If this value matches the certificate’s thumbprint or fingerprint, you have verified the identity of the remote computer.
-
If you are using Remote Desktop Connection on a Windows computer, go back to the Certificate dialog box and select OK. If you are using Microsoft Remote Desktop on a Mac, return to Verify Certificate and select Continue.
-
[Windows] Select Yes in the Remote Desktop Connection window to connect to your instance.
-
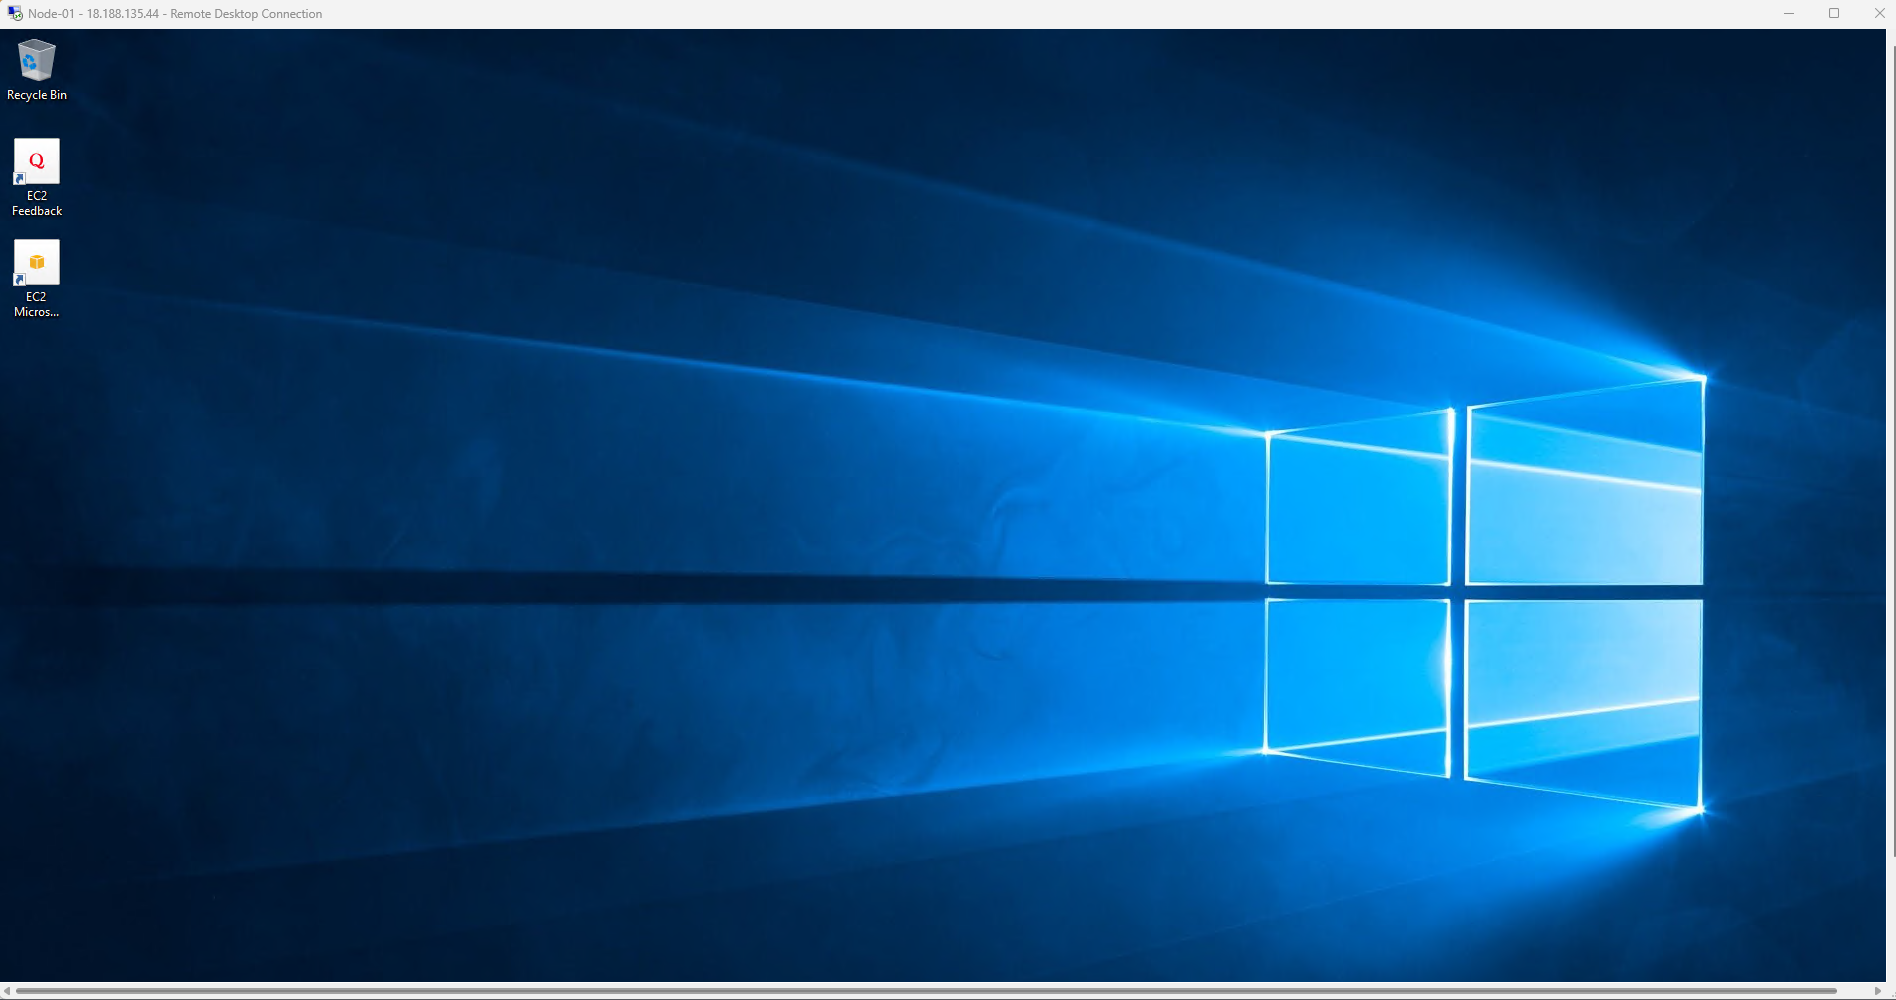
Connection successful.
-
Practice the same with the remaining EC2 instances.